
The shoulder press builds serious overhead strength—you’re hitting your anterior deltoids hard while your core, stabilizers, and triceps tag along for the ride. Whether you go barbell, dumbbell, or seated versus standing, each variation offers different perks: barbells let you lift heavier, dumbbells correct imbalances, and standing work demands more core bracing. Start with solid form, progress by adding weight or reps every few weeks, and rotate variations to keep your shoulders from plateauing. There’s plenty more to nail the technique and dodge common pitfalls ahead.
Key Takeaways
- Shoulder press primarily targets anterior deltoids while engaging lateral deltoids, triceps, and scapular stabilizers for overhead strength.
- Equipment choice matters: dumbbells correct imbalances, barbells enable heavier loading, and neutral grip is easier on rotator cuff joints.
- Seated pressing protects the spine; standing pressing recruits core and stability demands for functional carryover to daily tasks.
- Proper form requires scapular retraction before pressing, neutral wrists, core bracing, and controlled lowering to prevent injury.
- Rotate between barbell (3–6 reps), dumbbell (6–12 reps), and unilateral variations every 6–12 weeks to maximize strength and prevent adaptation.
Understanding Shoulder Presses: What They Target and Why
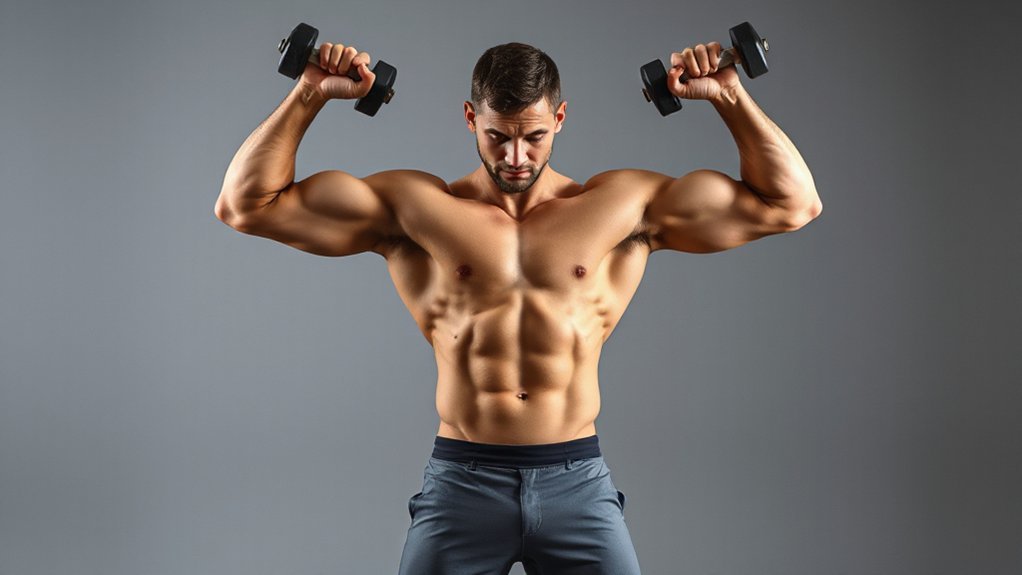
Pressing weight overhead—whether with dumbbells, a barbell, or kettlebells—is one of the most straightforward ways to build shoulder strength and enable better movement in daily life. You’re primarily targeting your anterior deltoid, that front shoulder muscle that gives you definition and power. But here’s the thing: you’re also engaging your lateral deltoid, triceps, upper trapezius, and chest in meaningful ways.
The beauty? Your choice of equipment matters. Dumbbells let your shoulders move more naturally, correcting imbalances you might not even know you have. A neutral grip often feels kinder on your joints than a traditional pronated grip. You’re not just moving weight up and down—you’re coordinating your rotator cuff, stabilizing your scapula, and building resilience in tissues that support countless daily tasks. This isn’t vanity work. It’s functional strength that pays real dividends when you reach overhead, lift groceries, or simply move with confidence.
Choosing Your Shoulder Press Variation
| Variation | Best For |
|---|---|
| Barbell OHP | Heavy strength (3–6 reps, 3–6 sets) |
| Dumbbell Press | Hypertrophy & balance (6–12 reps) |
| Seated Press | Spine protection & isolation |
| Standing Press | Core recruitment & stability |
| Neutral Grip | Rotator cuff safety |
Here’s the thing: barbells let you stack on serious weight for pure strength, while dumbbells give you that deeper range of motion and catch imbalances your stronger side’s been hiding. Seated takes pressure off your lower back when you need it; standing demands more from your core and stabilizers.
Grip matters too. Neutral grip? Easier on your shoulders. Palms forward? Hammers those front delts harder.
Most of you’ll thrive mixing two variations—barbell for strength, dumbbells for hypertrophy—in one session. That’s variety without burnout. Split the work smart, and you’re golden.
Form Checkpoints for the Seated Shoulder Press
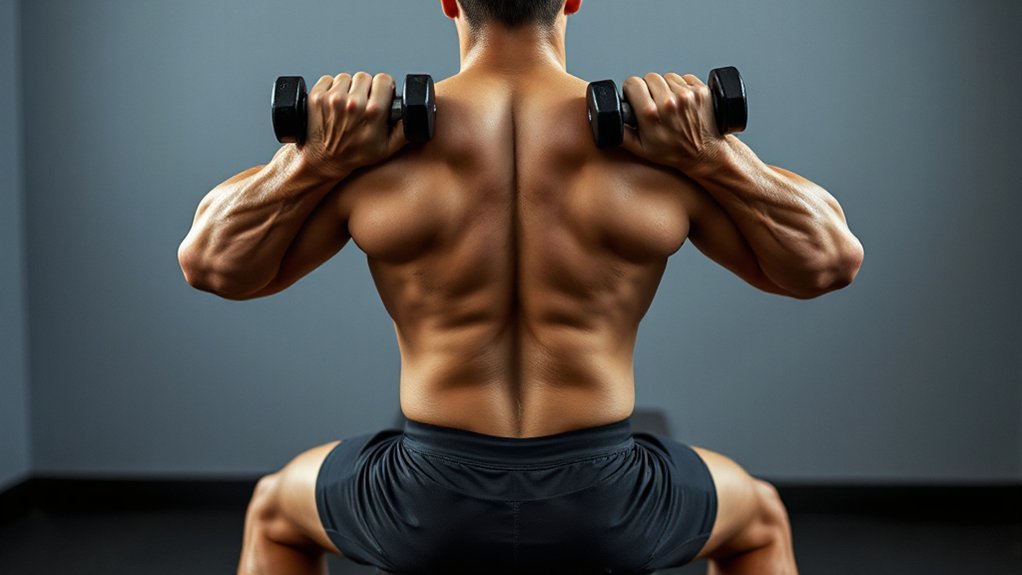
Getting locked in at the bench—that’s where everything starts for a solid seated shoulder press.
Press your head, shoulders, and butt firmly against the backrest. Feet stay flat on the floor, core braced tight. This prevents your lower back from extending and keeps you stable throughout the lift.
Grab those dumbbells at shoulder level with palms facing forward, wrists neutral, spacing them about shoulder-width apart. Before you lift, retract and depress your scapulae—squeeze those shoulder blades back and down. Hold that position. It creates the stable shoulder girdle you need.
Now exhale and press overhead until your elbows fully extend, but don’t arch that lower back. Keep elbows pointed roughly forward for comfort.
Lower the weights slowly under control, maintaining bench contact, neutral wrists, and conscious lat engagement. You’re resisting gravity here, not just letting dumbbells fall. That control matters.
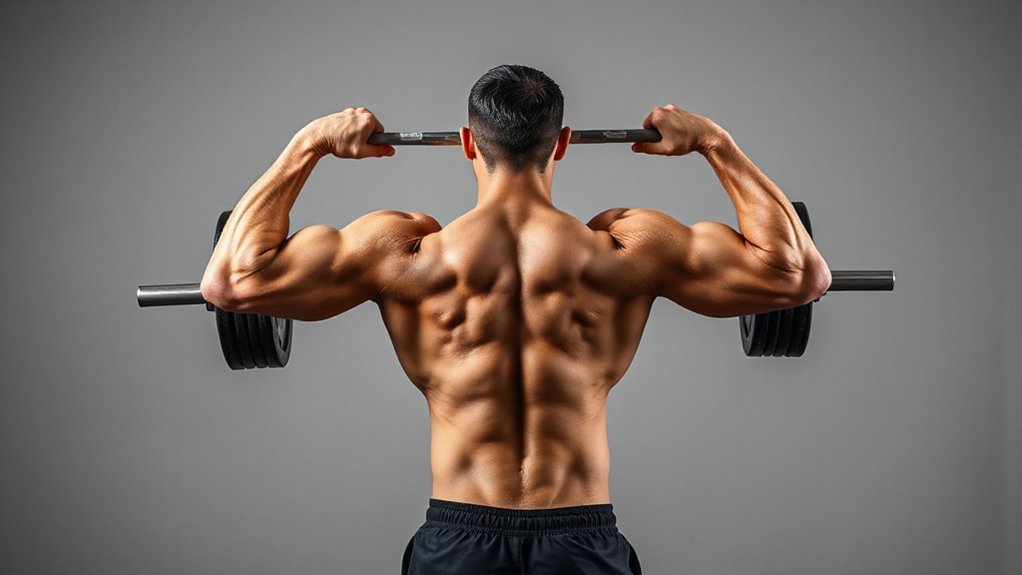
Form Checkpoints for the Standing Shoulder Press
The seated version gives you a solid foundation—but standing shoulder presses? That’s where you level up. You’re recruiting your entire body now, and that demands rock-solid positioning.
Start by planting your feet shoulder-width apart, knees slightly soft, weight anchored midfoot. This base matters. Brace your core and glutes hard—think: preventing your lower back from arching into dangerous territory. Your head, chest, and glutes stay stacked over your pelvis like a vertical line.
Here’s what keeps you honest:
- Dumbbells or bar positioned at shoulder height, pronated grip, wrists neutral and stacked
- Elbows roughly at or just ahead of your shoulder plane, roughly 90° at the start
- Weight pressing straight overhead with full elbow extension, no excessive lockout or low-back compensation
Breathing anchors everything: brace before pressing, exhale up, inhale down. Control matters more than speed. You’ve got this.
Progression Strategies and When to Switch Variations
How do you know when you’re ready to push harder—or when you need a new angle?
Track your reps and weight each session. When you hit 12 reps comfortably, bump the load 2.5–5% and drop back to 8. Keep climbing until progress stalls for two or three weeks straight. That’s your sign.
Rotate variations every 6–12 weeks anyway, even if you’re crushing it. Switch to dumbbells from barbells, try a neutral grip, or go seated. Why? Your shoulders adapt fast, and variety keeps them healthy and engaged.
Hit a plateau or notice one side’s weaker? Go unilateral—single-arm presses force each shoulder to work independently, fixing imbalances and sharpening control. Feeling pinchy or sore? Dial back the range, reduce weight, or shift to machines. Listen to your body; it’s smarter than your ego.
Frequently Asked Questions
How Often Should I Rotate Between Different Shoulder Press Variations?
Rotate every 3-4 weeks. You’ll keep your shoulders fresh and prevent adaptation plateaus—your muscles get bored, honestly. Try barbell for strength, dumbbells for stability, machines for isolation. Mix it up: one phase emphasizes heavy loads, the next builds endurance or unilateral work. Your body adapts fast, so switching variations keeps progress rolling and reduces injury risk from repetitive stress.
What Isolation Exercises Best Complement Compound Shoulder Pressing Movements?
Like a sturdy building needs solid support beams, your shoulders need isolation work alongside pressing. You’ll want lateral raises for shoulder width, reverse pec deck flyes for rear delts, and face pulls for rotator cuff health. Don’t skip internal and external rotations either—they’re your injury insurance. Throw in some shrugs for traps. These isolations hit what compound moves miss, filling gaps and building bulletproof shoulders you can actually trust long-term.
Can Shoulder Pressing Cause Impingement, and How Do I Prevent It?
Yeah, shoulder pressing can absolutely trigger impingement if you’re not careful. Here’s what you do: keep your elbows slightly forward, not flared out like chicken wings. Don’t shrug your shoulders up—pack them down. Use controlled weight, skip bouncing, and dial back volume if you feel pinching. Strengthen your rotator cuff with band work. And honestly? Listen to your body. Pain’s your body’s way of saying stop.
How Much Shoulder Press Volume Is Too Much Before Diminishing Returns?
You’re hitting diminishing returns around 12-16 weekly sets per shoulder. Beyond that? You’re just grinding without gains. Think of it this way: two solid pressing sessions—one overhead, one incline—plus accessory work gets you there. More volume doesn’t mean more muscle; it means more inflammation, recovery issues, and yeah, that impingement risk we discussed. Quality beats quantity. Always.
What Recovery Strategies Optimize Shoulder Health Between Pressing Sessions?
You’ll want to prioritize soft tissue work—foam roll your thoracic spine, hit your rotator cuff with band pulls. Sleep matters more than you’d think; aim for seven to nine hours because your shoulders rebuild during rest. Between sessions, grab ice if you’re inflamed, stretch your chest and lats actively, and honestly? Don’t press heavy on consecutive days. Give yourself forty-eight hours minimum. Your joints’ll thank you.
So
You’ve now learned that building shoulder strength—ironically, by pushing weight away from your body—actually brings you closer to your fitness goals. You’ll find the seated press feels easier than standing, yet standing builds real-world stability you genuinely need. The trick? Stop overthinking it. Pick a variation, nail your form, progress gradually, and you’ll transform those shoulders into powerhouses. That’s it. You’ve got this.


Leave a Comment