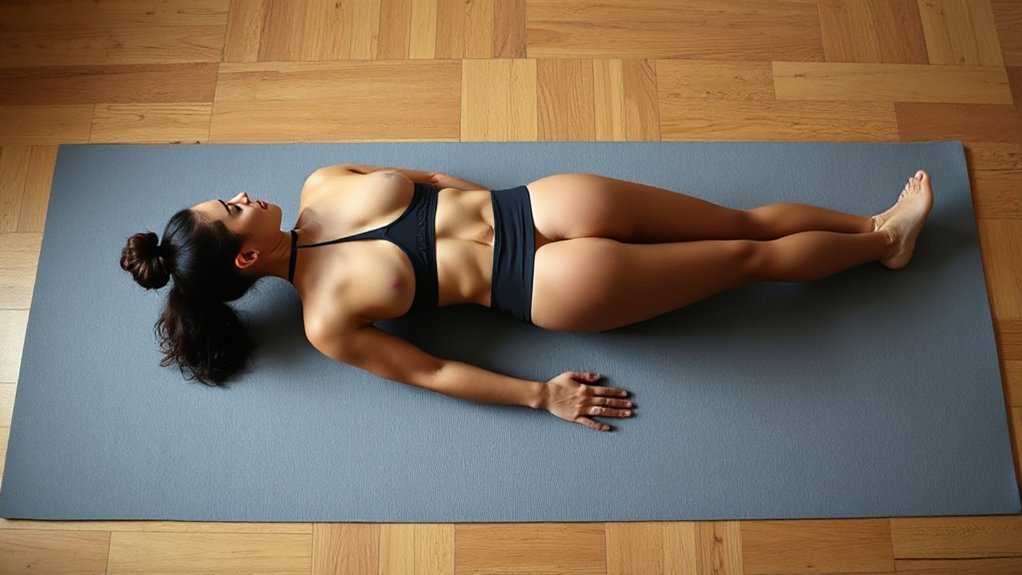
Lie flat on your back, knees bent, feet hip-width apart about a foot from your glutes. Brace your core, then drive through your heels and squeeze your glutes to thrust your hips upward until shoulders, hips, and knees align in one straight line—hold for two seconds. The move targets your gluteus maximus primarily, with hamstrings and core stabilizers supporting the lift. Start with three sets of 15–20 reps, two to three times weekly. Master the basics first, because progressions like weighted or single-leg variations demand solid foundational form, and there’s plenty more technique to discover.
Key Takeaways
- Lie on your back with knees bent and feet hip-width apart to activate your glutes through hip extension.
- Drive through your heels while squeezing glutes to thrust hips upward, aligning shoulders, hips, and knees.
- Avoid lower-back arching, rushing reps, and placing feet too far back, which reduce glute activation.
- Progress from bodyweight bridges to banded, single-leg, or weighted variations only after mastering proper form.
- Perform 3 sets of 15–20 reps for activation or 3–4 sets of 6–12 reps for strength.
How to Perform a Glute Bridge: Step-by-Step Form Guide
Getting into position is honestly the make-or-break moment—nail this setup, and you’re halfway to a solid glute bridge.
Lie flat on your back, bend your knees, and plant your feet hip-width apart about a foot from your glutes. Your toes should point straight ahead. Gently brace your abs to flatten your lower back against the floor—this protects your spine before you even lift.
Lie flat on your back, bend your knees, plant feet hip-width apart, and brace your abs to flatten your lower back against the floor.
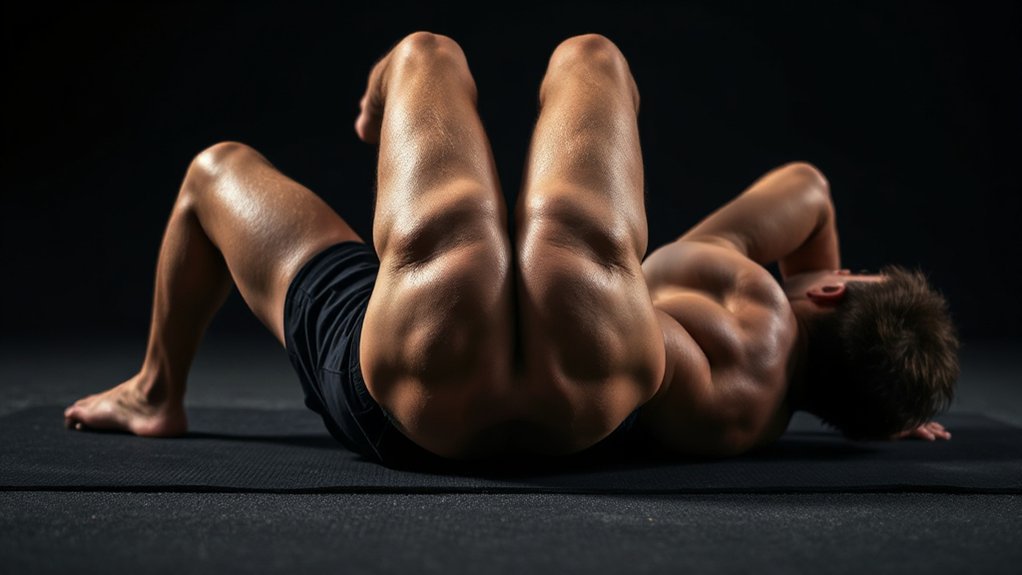
Now exhale and drive through your heels, squeezing your glutes hard to thrust your hips upward until your shoulders, hips, and knees form one straight line. No arching your lower back; that’s cheating and asking for pain.
At the top, squeeze those glutes maximally for two solid seconds while keeping your core tight. This prevents your pelvis from tipping and keeps everything stable.
Inhale and lower back down with control, maintaining core tension throughout. That’s one rep. Master this bodyweight version before adding load or progressing to single-leg variations.
Common Mistakes That Reduce Results and Risk Injury

Now that you’ve got the form down, here’s where most people sabotage themselves—and honestly, it’s usually without realizing it.
First, that arch in your lower back? It feels powerful, but it’s stealing the work from your glutes and dumping it straight onto your spine. Keep things neutral. Your shoulders, hips, and knees should form one straight line at the top—no hyperextending.
Feet placement matters more than you’d think. Position your heels about 6–8 inches from your glutes. Too far back, and your hamstrings hijack the movement. You want to *feel* that lift in your butt, not your legs.
Then there’s the core thing. Before you lift, brace gently—think about flattening your lower back into the mat. This prevents pelvic tilt and protects your lumbar spine.
Speed kills results. Slow, controlled reps with a solid 2-second hold at the top activate your glutes way better than rushing through.
Finally, skip the weights or single-leg work until you nail symmetric, controlled bodyweight bridges. Master basics first.
What Muscles Does a Glute Bridge Work?
Your gluteus maximus is the star. It’s responsible for hip extension, the main action that drives you up. But here’s the thing: your hamstrings aren’t sitting idle. They’re strong helpers, especially when you position your feet further back, assisting that hip extension powerfully.
Your core—think transverse abdominis and deep stabilizers—keeps your pelvis steady and prevents your lower back from arching excessively. This matters because if you’re feeling more burn in your back than your glutes, poor activation or foot placement’s likely the culprit.
Want to dial up gluteus medius engagement? Add a resistance band just above your knees. It’ll challenge lateral stability and strengthen those often-neglected outer glutes. That’s the complete picture.
Glute Bridge Variations for Every Fitness Level
Once you’ve nailed the basics and understand how your glutes, hamstrings, and core work together, it’s time to level up—and that’s where variations come in.
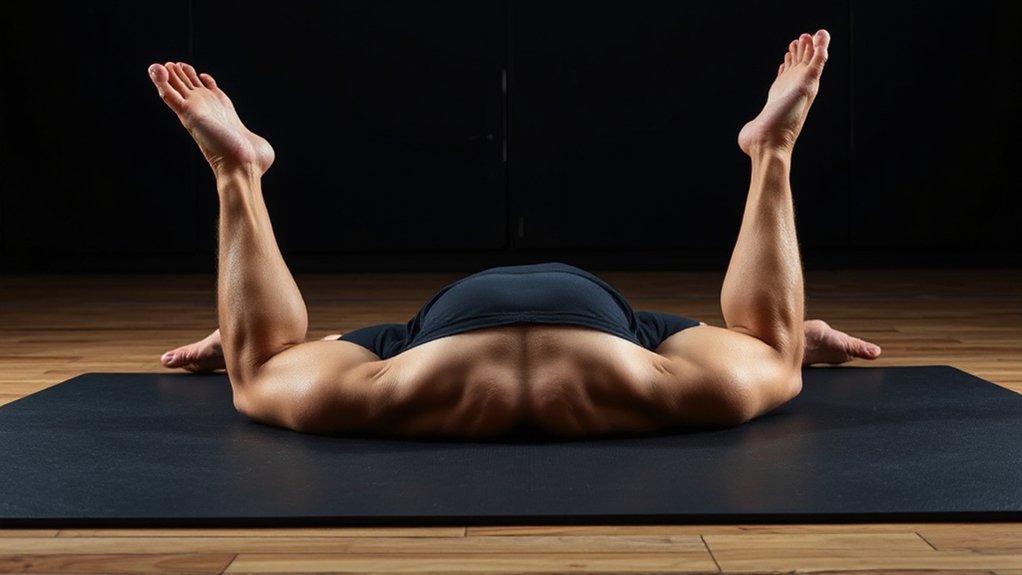
Start with banded glute bridges if you’re intermediate; that mini band just above your knees fires up your gluteus medius and builds lateral stability. Then push toward single-leg bridges—extending one leg while driving your hips up challenges your unilateral strength and core in ways the basic version won’t touch. Want raw power? Load a dumbbell across your hips and perform weighted bridges for 8–15 reps, bumping the weight when you crush an extra two reps with flawless form.
Finally, elevate your upper back on a bench or step. This increased range of motion deepens the glute stretch and unleashes serious strength gains—especially if you add a barbell. Pick your variation, respect the progression, and watch your glutes respond.
How Many Reps and Sets You Actually Need
How many reps and sets should you actually do? It depends on your goal, honestly.
For general activation and endurance, aim for 3 sets of 15–20 reps, twice or three times weekly. You’re building muscular stamina here, creating that burn that signals your glutes are waking up.
Want strength instead? Go heavier. Do 3–4 sets of 6–12 reps with challenging weight—but only if your form stays locked in. Sloppy reps won’t cut it.
Single-leg bridges demand 3 sets of 8–12 reps per side, performed 2–3 times weekly. They’re unilateral work, meaning each glute gets honest attention.
Here’s the real talk: progress happens when you complete an extra two reps for two consecutive sets with good technique. Then bump the weight up.
Throw in isometric holds—15 to 60 seconds, 2–4 sets—as finishers or warm-up supplemental work. Your glutes’ll thank you.
Glute Bridge Programming: Frequency and Placement
Because glute bridges are humble and versatile, they’ll fit into almost any training schedule—but where and how often you use them makes all the difference. You’ve got options depending on your goals, and getting this right means you’ll actually see progress instead of spinning your wheels.
Here’s how to strategically place and frequency your bridges:
- Strength focus: Train them 2–3 times weekly with 48–72 hours between hard sessions, letting your glutes fully recover and adapt
- Daily activation: Use bodyweight bridges before heavy lower-body work—just 1–3 sets of 10–20 reps to prime those muscles
- Session timing: Place bridges early when activation matters, later when you’re chasing conditioning fatigue
- Accessory role: Slot them after compound lifts when your legs are already primed and ready
This isn’t complicated. You’re matching frequency and placement to what you actually want from the exercise. Simple as that.
Frequently Asked Questions
Are Glute Bridges Good for a Herniated Disc?
Glute bridges can actually help you—they strengthen your glutes and core, reducing strain on your spine. But here’s the catch: you’ve gotta do them right. Keep your spine neutral, brace your abs firmly, and avoid arching your lower back. Start light, bodyweight only, 3 sets of 8–12 reps. If you’ve got sharp pain or numbness, pump the brakes and check with your PT first.
Is Glute Bridge Good for Piriformis?
Yeah, glute bridges can genuinely help your piriformis—if you do them right. You’re strengthening your gluteus maximus and medius, which reduces that muscle’s overactivity and irritation. Here’s the thing though: keep your core tight, press through your heels, and skip the lower back arch. Add a band above your knees for extra glute medius activation. If you feel buttock pain or radiating sensations, stop immediately and see a physio.
So
You’ve got the form down, you’re hitting the right reps, and you’re programming smartly—so why aren’t you seeing results yet? Stay consistent. Glute bridges aren’t flashy, but they’re undeniably effective when you commit. You’ll notice stronger glutes, better posture, and less back pain within weeks. Add them to your routine, dial in your technique, and trust the process. Your future self’s thanking you.


Leave a Comment