The bridge is your glute-strengthening powerhouse—here’s how you nail it. Lie on your back, knees bent, feet hip-width apart about six inches from your glutes. Brace your core, press through your heels, and lift your hips until your body forms a straight line from knees to shoulders. Squeeze hard at the top for two to five seconds, then lower with control. Most folks arch their lower back or rush the descent—slow down, keep your core tight, and you’ll feel the difference. Master this foundation, and you’re ready for serious progressions.
Key Takeaways
- Lie on your back with knees bent, feet hip-width apart 6–8 inches from glutes, then press through heels to lift hips.
- Squeeze glutes and drive hips upward until your body forms a straight line from knees through shoulders while keeping shoulder blades on mat.
- Avoid low-back arching by performing a posterior pelvic tilt and bracing your core before lifting; glutes should work, not lumbar spine.
- Progress by adding external load, adjusting foot placement, or advancing to single-leg variations once you master 12–15 reps with perfect form.
- Stop immediately if you experience sharp pain, numbness, or worsening symptoms; seek professional advice for back pain or prior spinal surgery.
How to Perform the Basic Bridge: Step-by-Step Cues
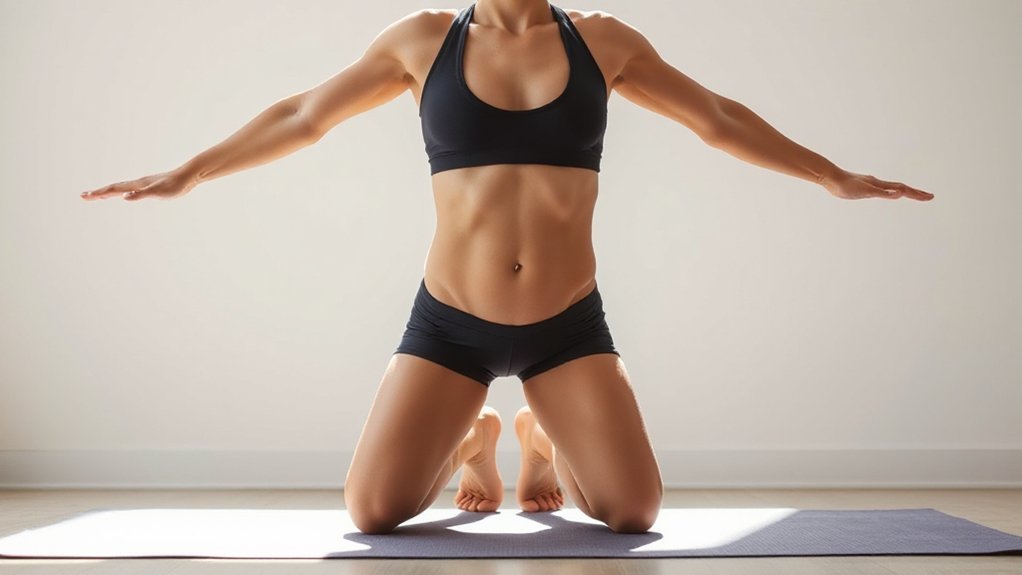
Start here—lying flat on your back with knees bent and feet planted about hip-width apart, heels roughly 6 to 8 inches from your glutes. Arms rest by your sides, palms down. Before you lift, mobilize with a few pelvic tilts to loosen up, then brace your core and take a deep breath. You’re ready.
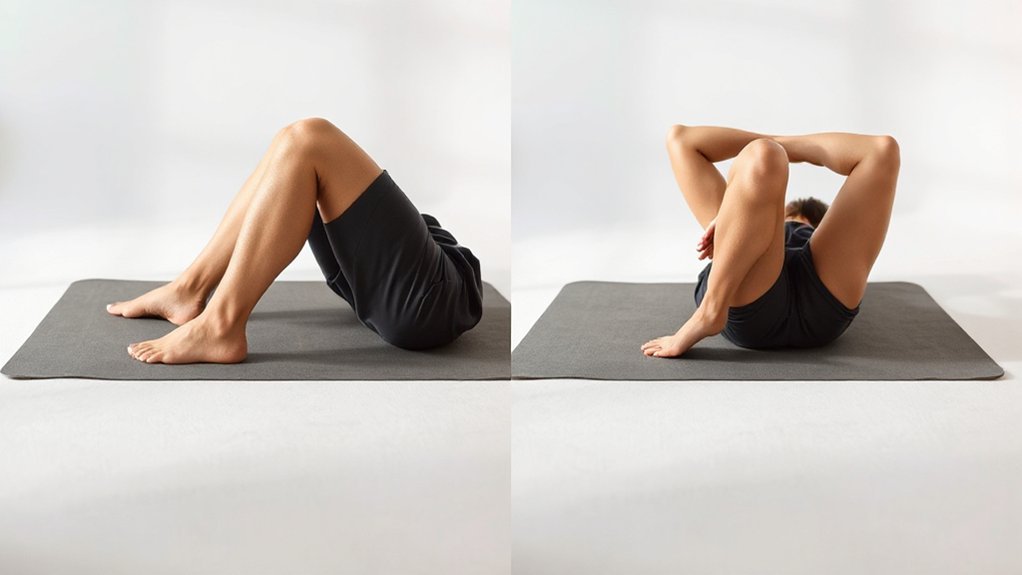
Now exhale and press through your heels. Squeeze those glutes hard—really feel them engage. Drive your hips up until you’ve got a straight line running from knees through hips to shoulders. Keep your shoulder blades glued to the mat; don’t let them shift. Hold this peak position for 2 to 5 seconds, maintaining that powerful glute squeeze the whole time. Guard against arching your lower back excessively and keep your pelvis level.
Finally, inhale as you lower down with control, leading with your heels and rolling your spine sequentially back onto the mat. That’s one rep. Clean, intentional, effective.
Common Mistakes Beginners Make and How to Fix Them
Even though you’ve nailed the basic form, most beginners slip into a few predictable traps that undermine everything you’ve worked for—and the good news? They’re fixable.
Most beginners slip into predictable traps, but the good news? They’re all fixable with proper technique adjustments.
First up: arching your low back. You’re overextending your spine when you should be stacking your knee, hip, and shoulder in one straight line. Brace your core, perform a posterior pelvic tilt before lifting, and you’re golden.
Feeling hamstrings instead of glutes? Your feet are too far away. Move them 6–8 inches closer and press through your heels—problem solved.
Knees caving inward or hips hiking unevenly? Slow down. Use a mini band above the knees for gentle outward pressure, and hold the top position longer until both sides feel balanced.
Finally, rushing the descent kills your gains. Lower yourself over 3–4 seconds, lead with your heels, and you’ll nail the control that transforms this move from okay to outstanding.
How to Know You’re Ready to Progress
Once you’ve nailed those fixes and you’re moving without compensation, here’s the real question: are you actually ready to level up, or are you just keen to move on?
Here’s your honest checklist. Can you crush 2–3 sets of 12–15 double-leg bridges with perfect form—hips aligned from knee to shoulder, zero low-back arching? You should feel glutes working, not your lumbar spine screaming. Hold that top position for 8–10 seconds comfortably, no pain lingering afterward.
Next, test your pelvic control. During alternating bridge marches, does your pelvis stay level? A drop of 1 centimeter or less means you’ve got it. Finally, try a single-leg hold for 10–20 seconds while keeping everything stable and controlled on descent.
You’re not ready until you nail these consistently across two consecutive sessions. Impatience gets you injured—trust the process.
Progressive Bridge Variations for Strength Building
Building real glute strength isn’t about chasing fancy variations—it’s about systematically increasing the demands on muscles that’ve finally gotten their act together. You’ve nailed the basics, so now it’s time to layer in progressive challenges that keep your glutes working harder without overwhelming your form.
Real glute strength comes from systematically increasing demands on muscles that work, not chasing fancy variations.
Here’s how you’ll build sustainable strength:
- Add external load: Place a dumbbell or sandbag across your hips, starting light and increasing weight when you nail +2 reps for two solid sets
- Shift foot placement: Move your heels farther from your glutes to spike hamstring demand, or elevate them to amplify the burn
- Progress single-leg difficulty: Move from bent contralateral leg to crossed, then finally straight—each demands fiercer stability
- Band above the knees: Lateral resistance fires up your gluteus medius while boosting overall activation
- Extend hold times: Jump from basic bridges to 30–60 second isometric holds, building endurance that translates to real-world strength
The sweet spot? Small, intentional jumps. You’re not reinventing the wheel—you’re just making it spin faster, smarter.
Is the Bridge Safe for You?
So, is the bridge actually safe for you? Generally, yes—it’s low-impact and strengthens your posterior chain without overloading your spine. That’s the good news.
But here’s where you need to pause: Skip bridges if you’ve recently had abdominal, pelvic, or spinal surgery. Same goes for acute injury stages. You’ll want explicit clearance from your surgeon or physiotherapist first. Pregnant? Especially in late pregnancy or early postpartum? Modify or avoid the exercise until a maternal health professional gives you the green light.
Start conservatively with small range-of-motion holds. Stop immediately if you feel sharp pain, increased numbness, or worsening symptoms—your body’s telling you something.
Have significant back pain, prior spinal surgery, pelvic dysfunction, or other medical concerns? Seek professional advice before starting. A doctor, physiotherapist, or qualified Pilates instructor can assess your individual situation and guide you safely forward.
Frequently Asked Questions
How Many Bridge Repetitions Should I Perform per Workout Session?
You’ll want to nail 8-12 bridge reps per set, honestly. Start with three sets if you’re new to this—your glutes and lower back need time to adapt. Rest 60-90 seconds between sets. As you get stronger, push toward 15-20 reps or add weight with a barbell. Listen to your body; soreness is normal, but sharp pain means dial it back. Quality beats quantity every single time.
What Is the Ideal Rest Period Between Bridge Exercise Sets?
You’ll want thirty to sixty seconds between sets—that sweet spot lets your glutes recover without cooling down completely. Honestly? Sixty seconds works best if you’re pushing hard, building strength. Thirty’s fine if you’re grinding through higher reps, keeping tension constant. Listen to your body though. You breathing normally again? Muscles stop shaking? You’re ready. Don’t overthink it; rest enough to maintain form, not so long you lose momentum.
Can Bridge Exercises Help Reduce Sciatic Nerve Pain?
Here’s the thing: bridges aren’t magic, but they’re genuinely helpful. You’ll strengthen your glutes and lower back, which takes pressure off that aggravated nerve. Start slow, though—hold for five seconds, build up gradually. You’re effectively creating support, stabilizing your spine, and reducing compression. That said, if your pain’s severe, check with a doctor first. Bridges work best alongside stretching and proper posture.
How Long Before Noticing Visible Results From Regular Bridge Training?
You’ll notice subtle strength gains within two to three weeks—you’ll feel it before you see it. Real visible results? Four to six weeks of consistent training, three times weekly. Your glutes firm up first, then your lower back stabilizes noticeably. Stick with it though; the deeper sciatic relief builds gradually over eight to twelve weeks as your core strengthens and inflammation decreases.
Should I Perform Bridges on Carpet, Mat, or Hard Floor?
You’ll want a mat or yoga pad, honestly. Hard floors? They’ll bruise your lower back and shoulders—not worth it. Carpet works in a pinch, but it’s unstable; your body sinks unevenly, throwing off your form. A firm mat gives you support without sacrificing stability. It cushions pressure points while keeping your spine properly aligned. That’s your sweet spot for safe, effective bridges that actually build strength.
So
You’ve got this. The bridge isn’t just another exercise—it’s your foundation for serious strength. You know your form, you’ve dodged the rookie mistakes, and you’re ready to push harder. Start simple, progress smart, listen to your body. Whether you’re building toward single-leg variations or just nailing the basics, consistency beats perfection every time. Now get out there and bridge.


Leave a Comment