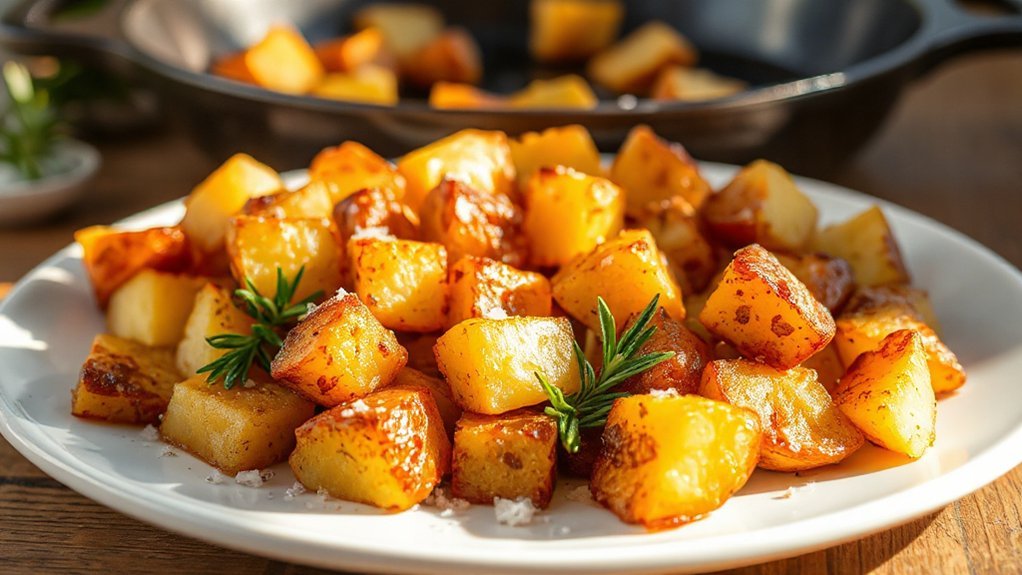
par-cook your potatoes until just tender, then cool them completely—at least an hour—so surface moisture evaporates and crispness actually happens. Dice into half-inch pieces, season after cooling, then sear in a hot cast-iron skillet with butter and oil for 8–10 minutes, flipping every few minutes. You’ll nail golden, crispy exteriors with fluffy centers. Skip the cooling step and you’re basically steaming them instead of frying. The flavor variations and reheating tricks? That’s where things get really interesting.
Key Takeaways
- Par-cook potatoes 6–10 minutes until tender, then cool at least one hour to maximize crispness during final searing.
- Heat cast-iron skillet with butter and oil, then pan-fry diced potatoes 8–10 minutes total, flipping every 2–3 minutes until golden.
- Season with garlic powder, onion powder, smoked paprika, cayenne, salt, and pepper for even, flavorful coating on every piece.
- Avoid crowding the skillet and skip salting too early; surface moisture prevents proper browning and crisping of potatoes.
- Reheat leftover potatoes in a hot skillet with oil for 8–10 minutes; microwave causes soggy results and lost texture.
How to Prep and Par-Cook Potatoes for Maximum Crispness
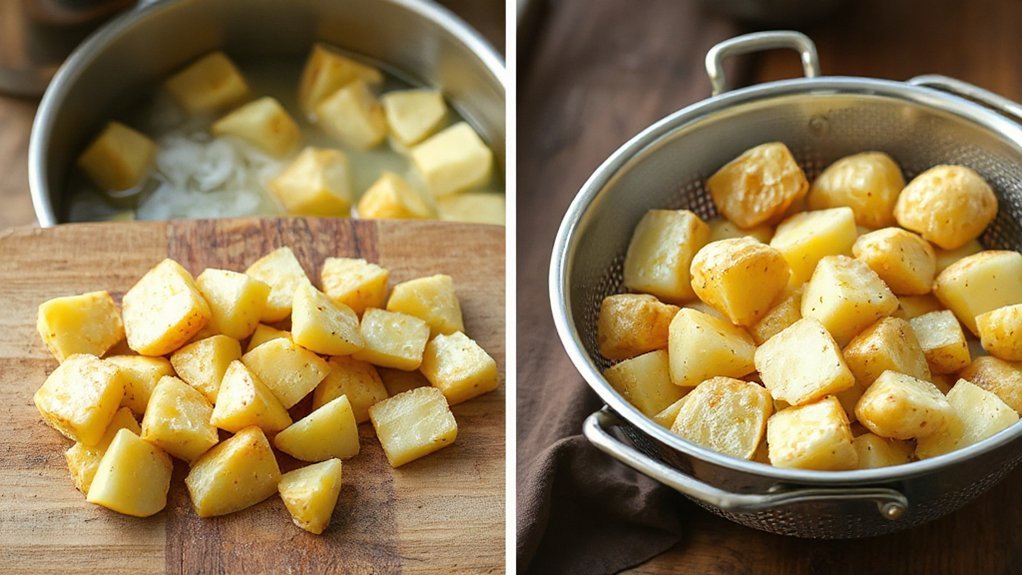
Start by peeling and quartering about 1½ pounds of russet or Yukon gold potatoes. Par-cook them just until tender—steam for 6–10 minutes, or microwave covered for 3½–4½ minutes. You’re aiming for slight resistance when a knife pierces them, not mushy insides.
This next part’s essential: cool those potatoes at least an hour at room temperature, or refrigerate overnight. That evaporated surface moisture? It’s your secret weapon for crispness. Trust the patience here.
Once cooled, dice them into roughly ½-inch pieces for even browning. If you par-boiled instead of steamed, return them to the hot pot for 2–3 minutes to steam-dry any lingering moisture.
The golden rule: don’t overcook during par-cooking. You want tender centers with personality left, because that hot skillet finish is where the magic—and the crunch—actually happens.
The Step-by-Step Method for Golden, Restaurant-Quality Results
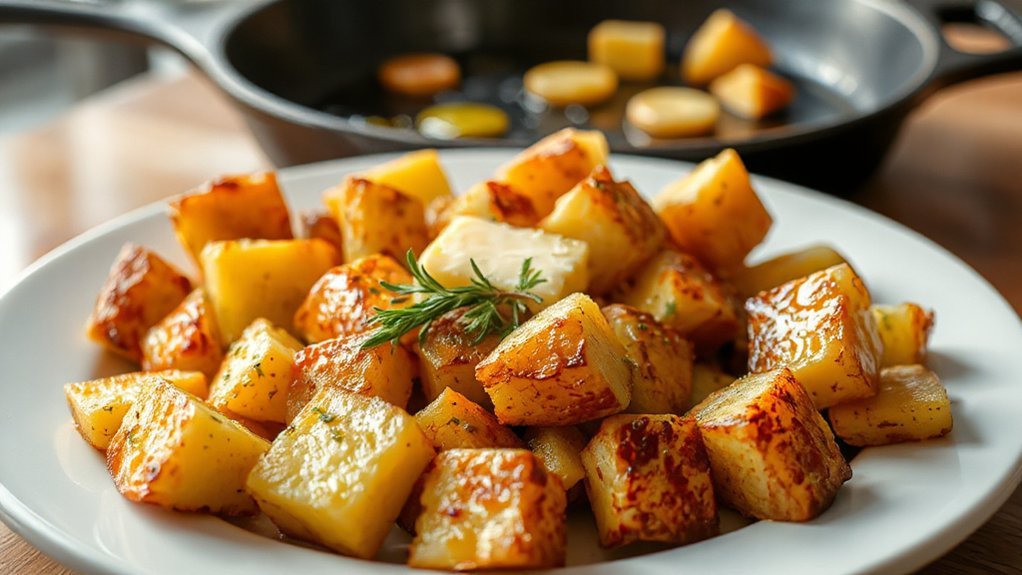
Seasoning your cooled potatoes evenly is where you lock in flavor before they hit the heat. Toss those diced pieces with garlic powder, onion powder, smoked paprika, a pinch of cayenne if you’re feeling bold, salt, and pepper—about ½ teaspoon each of the powders, ¼ teaspoon paprika. Make sure every piece gets coated; no naked potatoes allowed.
Now for the sear. Heat your 12-inch cast-iron skillet over medium-high with 2 tablespoons butter and 2 tablespoons olive oil. Toss in a smashed garlic clove or herb sprig if you want, then remove them before the potatoes arrive. Arrange your pieces in a single layer with breathing room between them—crowding’s your enemy here.
Pan-fry 8–10 minutes total, flipping every 2–3 minutes. You’re hunting for that deep golden crust, crispy exterior, tender inside. That’s restaurant-quality right there.
Rubbery Breakfast Potatoes? Here’s What Went Wrong
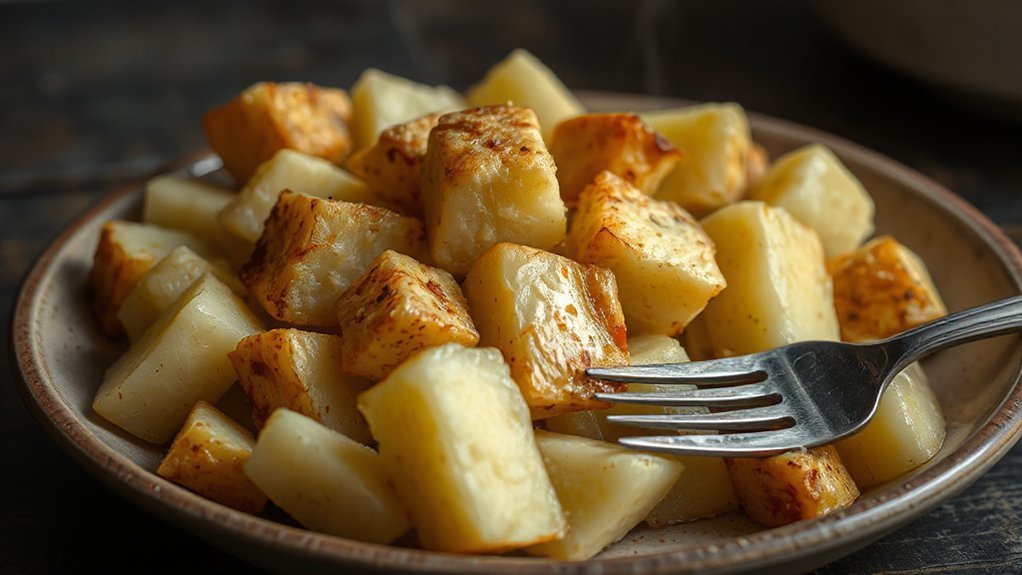
When your breakfast potatoes come out chewy instead of crispy, you’ve likely stumbled into one of five common mistakes—and the good news is they’re all fixable.
First, you probably underbaked them. Par-boil or steam whole quarters for 6–10 minutes until a knife hits slight resistance, then dice and fry. Second, crowding the pan traps steam and kills browning. Use a hot 12-inch skillet, spread potatoes in a single layer, and give them room to breathe. Third mistake? Picking waxy potatoes like new reds. Switch to russets or Yukon Gold for that fluffy, crispy-edged texture you’re after.
Fourth, salting too early draws out moisture and blocks crisping. Wait until right before frying. Finally, skip the cooling step and you’ll trap surface moisture that prevents proper searing. Cool your par-cooked potatoes completely, or refrigerate diced ones for an hour or overnight. These fixes work—trust the process.
Store Breakfast Potatoes and Reheat for Crispness
Storing your crispy breakfast potatoes properly means you’ve got a ready-made side dish waiting in your fridge—no need to start from scratch tomorrow morning. Cool them completely, then tuck them into an airtight container for 3–5 days. Freezing? Go for it. A sealed bag or container keeps them fresh up to three months, though parboiled potatoes freeze best and regain their texture more reliably.
Now, here’s the thing about reheating: skip the microwave if crispness matters. That quick heat? It leaves you with soggy disappointment. Instead, use a hot skillet with a little oil or butter over medium-high heat for 8–10 minutes, tossing occasionally. An air fryer at 400°F for 5–8 minutes works even faster and more evenly. A preheated toaster oven at 400°F for 8–12 minutes also revives that golden crunch beautifully. Thaw frozen potatoes in your fridge first, or add a few extra minutes to your reheating time. You’re investing those minutes for texture worth it.
Flavor Variations to Customize Your Breakfast Potatoes
Once you’ve mastered the basic crispy potato, you’re ready to make them genuinely *yours*—and that’s where the fun kicks in.
Swap your smoked paprika and cayenne for chili powder and cumin, and suddenly you’ve got a smoky-spicy Southwest vibe that plays beautifully with eggs and avocado. Want richness? Use bacon fat or rendered sausage drippings instead of butter and oil—trust me, your potatoes will brown deeper and taste savory in ways plain fat can’t match.
Stir in diced onion and red bell pepper during the last five minutes of cooking for caramelized sweetness. Fresh herbs—parsley, rosemary, or thyme—add a bright herbal lift that feels intentional, not an afterthought. And if you’re feeling indulgent, sprinkle Parmesan or cheddar over the top in those final moments, letting it melt and crisp without burning.
These tweaks transform a side dish into something distinctly *yours*.
Frequently Asked Questions
What Type of Potatoes Are Good for Breakfast Potatoes?
You’ve got options, honestly. Yukon Golds? They’re your sweet spot—creamy inside, crispy outside, thin skins you don’t fret about. Want maximum crunch? Grab Russets; they’re starchy powerhouses. Prefer cubes that hold their shape? Red potatoes won’t disappoint. Here’s the thing: whatever you pick, dice them uniform, par-cook first, then finish in your skillet. That’s your golden ticket to perfect breakfast potatoes.
What Is the Secret to Perfect Breakfast Potatoes?
You’re after three things: par-cook your potatoes first—steam or microwave them until just tender, then cool completely before dicing. That fluffy interior? Game-changer. Next, you need that fat—butter and oil together in a screaming-hot cast iron. Finally, give them space and flip every couple minutes until they’re genuinely golden and crispy. Don’t rush it. Patience wins.
What’s the Difference Between Hash Browns & Breakfast Potatoes?
hash browns bind shredded potatoes into one crispy, lace-like patty—all about texture unity. Breakfast potatoes? You’re dicing them, par-cooking first, then pan-frying until each piece gets its own golden crust while staying fluffy inside. Hash browns skip add-ins; breakfast potatoes welcome onions, peppers, bacon. One’s cohesive and elegant; the other’s chunky, rustic, and honestly more forgiving. Pick your vibe.
Do You Boil Potatoes Before Making Breakfast Potatoes?
You’ll want to par-cook your potatoes first—seriously, it’s a game-changer. Steam or boil them for 6–10 minutes until a knife hits slight resistance, then cool them down. This prevents that rubbery, undercooked center while you’re pan-frying. Skip this step, and you’re stuck waiting forever for the insides to soften. Dice them into ½-inch pieces after cooling, and you’ve got perfectly fluffy interiors with crispy, golden edges in about 8–10 minutes flat.
So
You’ve now mastered the crispy breakfast potato game—and here’s the thing: that old myth about soaking potatoes making them soggy? It’s backwards. You’ll find that proper par-cooking actually locks in crispness by removing excess starch strategically. You’re not just cooking; you’re engineering texture. With your flavor tweaks and storage tricks, you’ve got restaurant-level skills in your kitchen. That’s genuine kitchen confidence right there.


Leave a Comment