Cat Pose rounds your spine, loosens tight muscles, and rebuilds mobility you’ve lost to sitting all day. Start in tabletop with wrists under shoulders, knees under hips. Exhale, draw your belly toward your spine, tuck your tailbone, drop your chin—feel each vertebra round. Inhale back to neutral. Move slowly, coordinate breath with motion, and aim for five to ten cycles per session, three to five times weekly. Consistency beats intensity; you’ll notice real changes in weeks, especially with proper alignment and modifications tailored to your body.
Key Takeaways
- Cat Pose restores spinal mobility, engages core muscles, and protects lumbar discs through coordinated breathing and controlled spinal flexion movements.
- Start in tabletop position with wrists under shoulders and knees under hips, then exhale while rounding spine and drawing navel toward backbone.
- Common mistakes include misaligned hand placement, insufficient core engagement, aggressive rounding, wrist overload, and improper neck positioning during movement.
- Modify Cat Pose using yoga blocks under hands, knee padding, forearm support, neutral neck positioning, or seated chair variations for comfort.
- Practice three to five sessions weekly with five to ten breath cycles per set; consistency over intensity produces observable mobility improvements within weeks.
What Is Cat Pose and Why It Benefits Your Spine
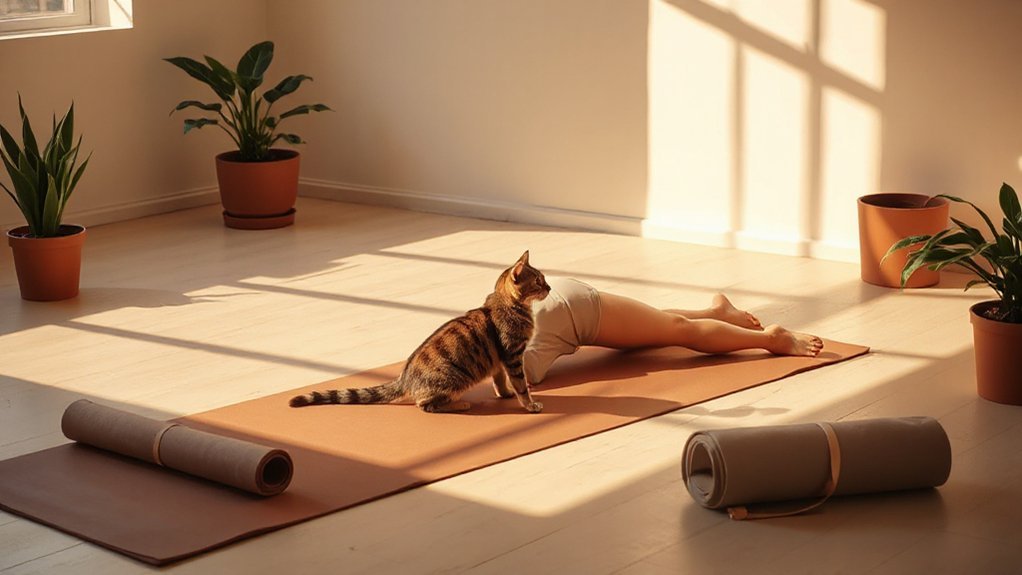
Ever notice how your spine feels stiff after hunching over a desk all day? Cat Pose fixes that. You’re in tabletop position—hands and knees on the ground—then you exhale and round your spine like you’re drawing your belly button toward your backbone. Tuck your tailbone, drop your chin, and feel each vertebra articulate from your lower back all the way up to your neck.
Here’s what happens: repeated spinal flexion wakes up mobility across your entire back. You’re literally counteracting prolonged sitting, gaining range of motion you’ve lost. Plus, when you engage your core during that rounding motion, you’re protecting your lumbar discs and strengthening the abdominal muscles that support your spine’s stability.
The breath-movement coordination matters too. Exhale into Cat, inhale back to neutral—this rhythm increases circulation to spinal tissues and relaxes those tight paraspinal muscles. You’re not forcing anything; you’re moving gently, intentionally, with your body.
How to Practice Cat Pose: Alignment & Breath
Getting into proper alignment transforms Cat Pose from a casual stretch into a therapeutic spinal mobilizer—and it’s simpler than you might think.
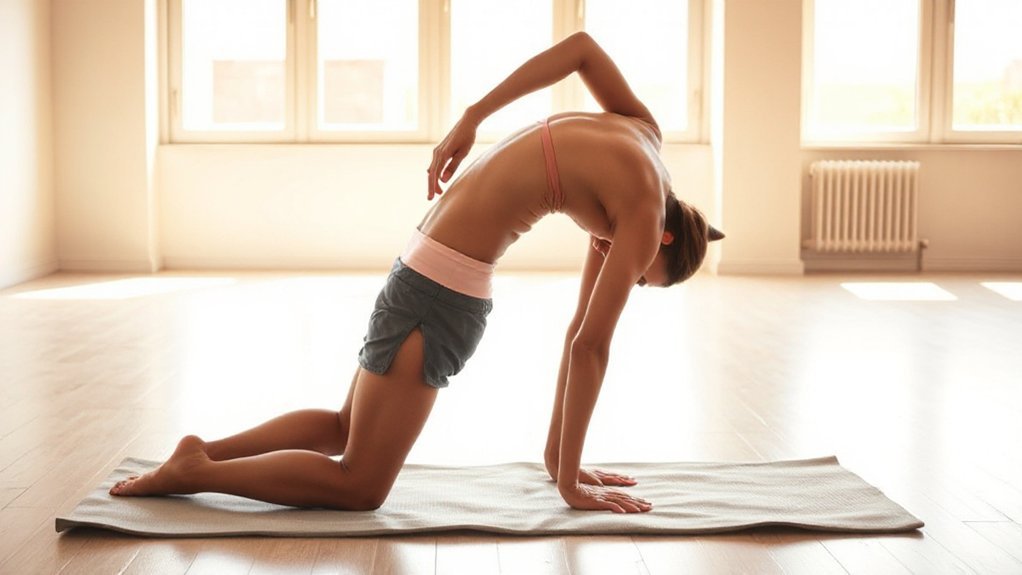
Start in Tabletop: wrists stacked under shoulders, knees hip-width under hips, fingers spread wide. Press evenly into the mat. Your foundation matters—it protects everything above it.
Now breathe with intention. Inhale to lengthen into Cow: lift your tailbone, gaze forward, feel your spine extend. Exhale into Cat: round that spine, tuck your tailbone, draw your navel toward your spine, gently tuck your chin. Move slowly, deliberately, breath by breath.
Aim for 5–10 cycles per round. Keep shoulders relaxed away from your ears—no hunching. Arms stay straight; core stays engaged. Your gaze softens toward your navel, preventing neck strain.
If wrists or knees protest? Modify. Forearms, blocks, extra padding—whatever keeps you comfortable and safe. Stop if you feel sharp pain. Your spine will thank you.
Common Mistakes That Undermine Your Practice
Even with the best intentions, most of us slip into alignment habits that quietly undermine everything you’ve just learned. You’re moving through Cat pose, feeling good—then suddenly your wrists ache, or your lower back tightens. Sound familiar?
Here’s what’s probably happening:
- Hands and knees are misplaced. You’re positioning them too far forward or too narrow instead of directly under shoulders and hips. This uneven weight distribution strains your wrists and shoulders relentlessly.
- Your core isn’t engaged. Without drawing your navel toward your spine, you collapse into lumbar sag rather than achieving safe spinal flexion. Your lower back bears the brunt.
- You’re rounding aggressively. Forcing the movement instead of articulating each vertebra with control reduces mobility and invites discomfort.
Don’t dump weight into your wrists either—distribute through fingers, knuckles, or blocks. Keep your neck long, chin gentle. Small adjustments create profound shifts.
Cat Pose Modifications for Your Body
Wrist pain? Place your forearms on a yoga block or mat instead of pressing palms down, or make fists and press knuckles to keep those wrist creases neutral. Sensitive knees? Tuck a folded blanket underneath—about one to two inches thick—to cushion pressure while you stack hips over knees.
Shoulders and wrists taking a beating? Slip yoga blocks under each hand at low or medium height; you’ll elevate yourself without sacrificing that gorgeous spinal rounding. Neck issues or recent surgery got you nervous? Keep your head neutral—skip the chin tuck—and focus on pelvic and lumbar rounding instead of forcing full cervical flexion.
Limited mobility or pregnant? Try seated Cat in a chair: feet hip-distance apart, hands on thighs, exhale to round and tuck. That’s it. Your modification *is* your practice.
How Often Should You Practice Cat Pose?
How often should you actually practice Cat Pose to see real results? You’ll benefit most from consistent practice, so aim for three to five sessions weekly—ideally daily if you can manage it. Here’s what works:
- Daily quick resets: Use Cat Pose for 30–60 seconds in the morning to awaken your spine, then again at night to release sitting tension.
- Multiple short sessions: Rather than one long stretch, practice several mini-flows throughout your day, hitting about five to ten breath cycles per set.
- Therapeutic frequency: If you’re tackling low-back stiffness or mobility goals, increase to several brief sessions daily, keeping movements controlled and pain-free.
The sweet spot? Consistency beats intensity. You’ll notice improved spinal mobility and posture within weeks of regular practice. Skip the all-or-nothing mentality—even three focused sessions weekly create meaningful change. Just remember: listen to your body, modify as needed, and consult a healthcare professional if you’ve had recent surgery or persistent pain.
Frequently Asked Questions
Is Cat Yoga Ethical for Cats?
Cat yoga can be ethical—if you’re doing it right. You’ll need to let your cat choose participation, never force them into poses or confine them to a mat. Watch for stress signals: tail flicking, flattened ears, dilated pupils. Stop immediately if you spot them. Keep sessions brief, use treats and praise, and always prioritize their comfort over Instagram aesthetics. Your cat’s welfare comes first, period.
What Are the 7 Basic Yoga Poses?
You’ve got seven foundational poses to master. Start with Mountain—your alignment blueprint. Then Downward-Facing Dog, that full-body stretch powerhouse. Warrior II builds your legs and focus. Tree challenges your balance. Cat-Cow mobilizes your spine with breath. Child’s Pose offers gentle rest. Finally, Corpse Pose lets everything integrate. Each one’s essential. They’re your toolkit, honestly—stack them right, and you’ll build a solid practice that actually feels good in your body.
So
You’ve got the tools now—alignment, breath, modifications, all of it. So what’re you waiting for? Your spine’s been sending signals, and Cat Pose? It’s answering back. Start slow, practice consistently, listen to your body’s whispers. You’ll feel the difference soon enough, that lengthening, that relief. The real question isn’t whether Cat Pose works. It’s whether you’re ready to commit.


Leave a Comment