
The Romanian deadlift is your hip-hinge goldmine for building serious hamstring and glute strength. You’ll push your hips back hard—not bend your knees—while keeping the bar glued to your legs. Maintain a slight knee bend, neutral spine, and chest proud throughout. The bar travels from mid-shin to just below your knees. Master this pattern, nail your grip, and you’ll unleash explosive posterior-chain power. Get the form right first, though—because small tweaks separate gains from lower-back headaches.
Key Takeaways
- Hip-hinge standing exercise that targets hamstrings, glutes, and lower back with controlled lowering between mid-shin and knees.
- Feet hip-width apart, bar over shoelaces, slight knee bend throughout; initiate movement by pushing hips straight back, not folding knees.
- Bar stays glued to legs; descend only as far as neutral spine can be maintained without rounding or excessive flexion.
- Sharp, focal lower-back pain signals form breakdown; reduce load, prioritize controlled tempo, and seek medical clearance if pain persists.
- Progress via small load increments, rep-range cycling, paused variations, single-leg work, or swap to trap bar, kettlebells, or dumbbells.
What Is the Romanian Deadlift?
Hinging from your hips—that’s the core move here. The Romanian deadlift, or RDL, is a standing exercise that loads your hamstrings, glutes, and lower back through a controlled lowering phase. Unlike a conventional deadlift, you’re not setting the bar down between reps. Instead, it travels between mid-shin and your knees, keeping constant tension on your posterior chain.
Here’s what makes it different: you’ll maintain a slight knee bend—not locked straight, not deeply bent—which lets you target both glutes and hamstrings while protecting your spine. That’s the sweet spot.
This compound movement challenges your core and grip too, making it incredibly functional. It teaches your body the hip-hinge pattern, that fundamental movement where your hips drive the motion rather than your knees. You’re building serious posterior chain strength while staying safe and efficient. That’s why lifters love it.
How to Set Up and Execute Proper Form
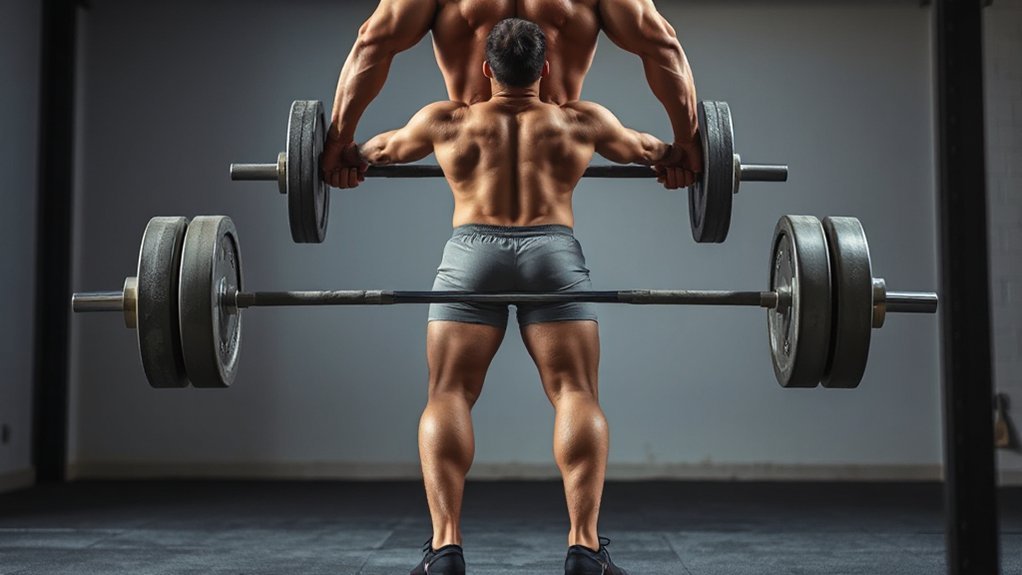
You’ve got to nail your setup before you even think about moving—feet hip-width apart, bar sitting right over your shoelaces, hands gripping just outside your hips with that double overhand grip locked in tight. From there, you’re hinging at the hips (not going stiff-legged), pushing those hips straight back with just a slight knee bend while your spine stays neutral and that bar hugs your legs the whole way down. Drive through your entire foot to stand back up, squeeze those glutes hard at the top, and you’ll feel the difference between a sloppy deadlift and one that actually works.
Initial Position Setup
Getting your foundation right—that’s where the Romanian deadlift lives or dies, and honestly, most people rush through this part.
Your setup determines everything that follows. Here’s what you need to nail:
- Stand with feet hip-width apart, bar directly over your shoelaces
- Grip just outside hip width with a double overhand grip, thumbs wrapped
- Pin your shoulder blades down and back to brace your lats
- Release your knees slightly so hamstrings pre-tension and hips can hinge
- Keep the bar grazing your thighs and shins throughout
Position yourself with a neutral spine, chest up, and a packed chin. Your weight distributes through your whole foot—heel to toe. Before you even move, you’re already locked in. This isn’t rushed. This is intentional. Get it right here, and the rest flows naturally.
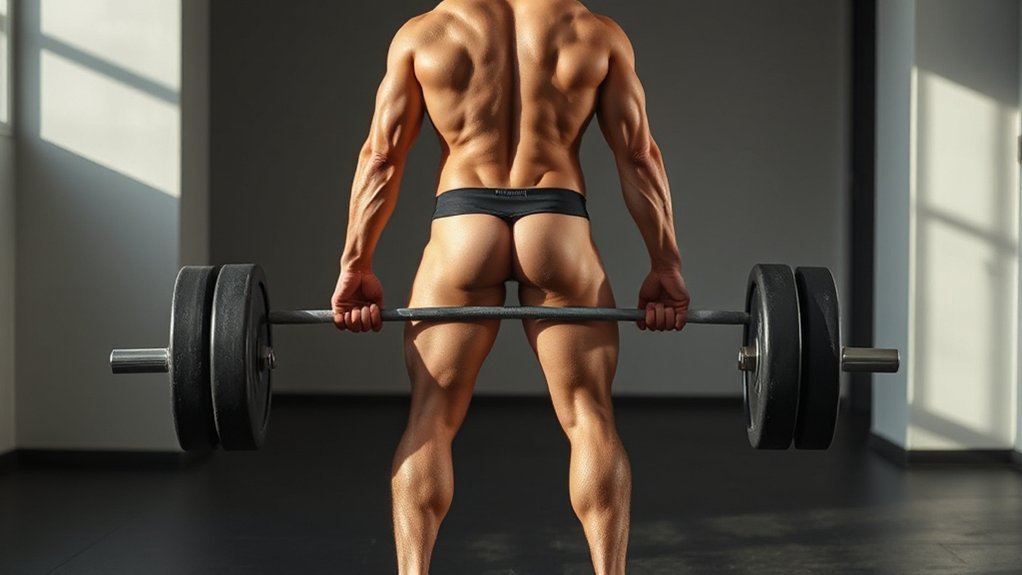
Hinge And Drive Mechanics
The real magic happens once you’re braced and ready—now it’s time to move, and move *right*. You’ll initiate the hinge by pushing your hips straight back, not by folding your knees. Keep that bar glued to your legs, and you’ll feel your hamstrings really wake up. Stop when the bar hits just below your knee or when your spine starts to round—that’s your limit. Now reverse it. Drive those hips forward explosively, squeeze your glutes hard at the top, and lock everything out without arching your lower back. Throughout the entire movement, maintain tension across your whole foot: big toe, little toe, heel. Don’t let weight creep onto your toes. Keep elbows locked, grip tight, and if grip’s your weak point, grab some straps.
| Phase | Cue | Feel |
|---|---|---|
| Descent | Push hips back | Hamstring stretch |
| Bottom | Bar below knee | Posterior loaded |
| Drive | Hip explosion | Glute squeeze |
4 Form Mistakes That Kill Your Gains
You’re probably making three critical mistakes right now: letting the bar drift away from your body, rounding your lower back instead of hinging at the hips, and not dropping deep enough into that hip hinge position. Each one tanks your gains because it shifts the load off your posterior chain—your glutes and hamstrings—and dumps it onto passive tissue and your spine, which basically means you’re asking for an injury while missing the whole point of the lift. The good news? These fixes are simple, they’re just about awareness and staying locked in.
Bar Drifting Away From Body
If your bar’s floating away from your body instead of hugging your legs, you’re basically doubling down on lower-back stress while your hamstrings sit there wondering why they’re even invited to the party.
Here’s what’s actually happening—and how to fix it:
- Start positioning matters: Bar begins over your shoelaces, not your toes
- Hip hinge mechanics: Push hips back with intention, maintaining that slight knee bend throughout
- Weight distribution: Spread pressure across your big toe, little toe, and heel equally
- Upper-body tension: Pinch shoulder blades hard, lock elbows, keep spine neutral so your torso doesn’t wobble
- Grip strategy: Switch to straps or hook grip if your hands are failing you
Keep that bar close. Your lower back will thank you.
Allowing Excessive Spinal Flexion
Once your spine starts rounding forward—even just a little—you’ve basically handed all your posterior-chain work over to your lower back, and that’s where things fall apart. Your glutes and hamstrings clock out while your erector spinae scramble to compensate, and that’s inefficient, honestly. Shear stress on your lumbar discs spikes dangerously.
| What Happens | Why It Matters |
|---|---|
| Hips stop driving movement | Glutes/hamstrings lose stimulus |
| Erector spinae overwork | Lower back fatigue, injury risk |
| Disc shear increases | Chronic pain develops |
| Hypertrophy stalls | Strength gains disappear |
Stop descending when you can’t keep your chest proud or your bar grazes past mid-shin. Feel three points of foot contact. Pack your chin slightly. If mobility limits you, reduce range, lighten weight, or grab dumbbells—no shame relearning the hinge properly.
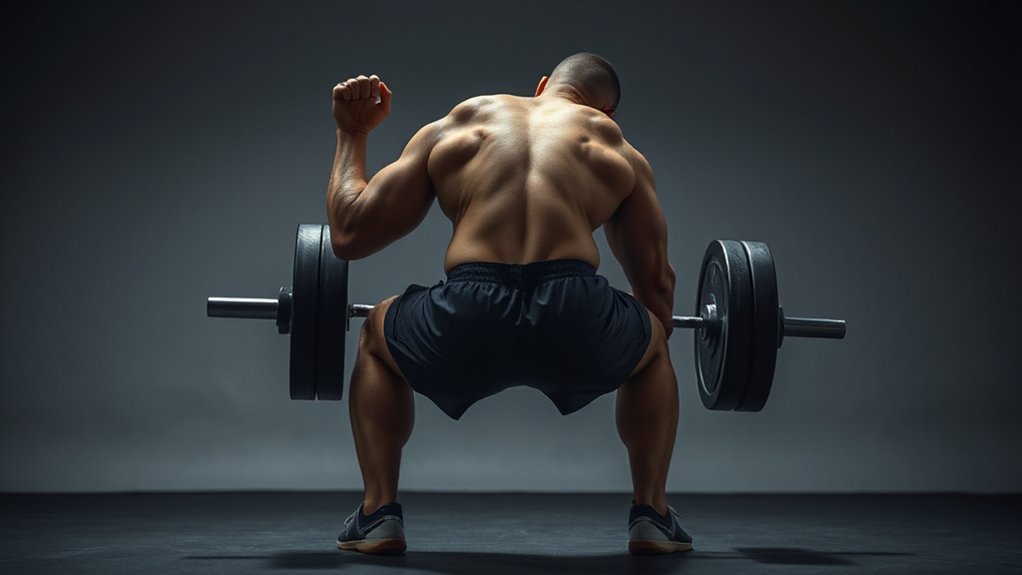
Insufficient Hip Hinge Depth
Even with a locked-in neutral spine, you can still sabotage the whole lift—and we see this constantly. If your hinge stops too high, you’re shifting all that work from your hamstrings and glutes straight to your quads, which defeats the purpose entirely.
Here’s what you’re missing out on:
- Hamstring loading time gets cut short, tanking hypertrophy gains
- Eccentric tension (the lowering phase) loses its magic
- Posterior chain strength plateaus faster than it should
- Hip mobility stays stuck, limiting future progress
- Bar path drifts away from your legs instead of grazing them
Push those hips back hard until the bar reaches mid-shin or just below the knees—whichever keeps your back neutral. Can’t get there? Tight hip flexors or hamstrings are your culprits. Hit mobility drills, use lighter loads, and trust the process.
Breaking Through Strength Plateaus
What’s holding you back? Your grip might be failing before your hamstrings fire, or you’re lifting the same weight week after week, stuck. Here’s the deal: start small. Add 2.5–5 lb plates, nothing dramatic. Cycle your rep ranges too—hit heavy 3–6 rep blocks for strength, then shift to 6–12 reps for hypertrophy. Your body adapts fast to the same stimulus, so mix it up.
Target your weak links directly. Paused RDLs at mid-shin? They crush stalling points. Single-leg variations expose imbalances you didn’t know you had. Throw in accessory work—Nordics, tempo hamstring curls, glute bridges—to build underlying capacity.
Tech issues sabotage gains. Keep the bar grazing your legs, spine neutral, weight distributed heel-to-toe. Small fixes pack serious returns.
Finally, increase frequency. Two RDL sessions weekly, planned deloads—that’s how you break through plateaus without burning out.
Variations and Equipment Swaps
You’ve locked down the form, cycled your reps, and hit plateaus from every angle—now it’s time to flip the script on equipment itself.
Your barbell’s been solid, sure, but swapping implements keeps your muscles honest and your mind engaged. Here’s what you can lean on:
- Kettlebells or dumbbells: Split the weight between two implements to match that barbell feel while hitting the same hip-hinge range.
- Trap bar: Handles sit at your sides, which cuts low-back shear stress—especially helpful if shoulder mobility’s tight.
- Stiff-leg variation: Straighter knees isolate hamstrings more intensely than the standard slight-knee-bend approach.
- Lifting straps or hook grip: Ditch mixed grip when your hands fatigue; keep thumbs wrapped and elbows locked.
- Box or bench: Only boost ROM here if you’ve got the mobility and spine control to stay neutral throughout.
Smart swaps beat chasing gimmicks every time.
When RDLs Cause Lower Back Pain
Lower back pain during RDLs—sharp, focal, different from the burn you’d expect in your hamstrings—almost always signals a form breakdown, not weakness. You’re likely losing your hip-hinge: either rounding your lumbar spine or hyperextending it. Stop immediately and reset.
Sharp lower back pain during RDLs signals form breakdown. You’re losing your hip-hinge. Stop and reset immediately.
Here’s what to do. Push your hips back hard, keep a slight knee bend, and descend only as far as you can maintain a neutral spine. That five-to-ten centimeter extra range? It’ll wreck you. Your mobility sets the limit, not your ego.
If heavy weight’s the culprit, drop the load. Use straps or a hook grip to protect your lower back from grip fatigue. Focus on controlled tempo first; load comes later.
One rule: if pain persists, sharpens, or radiates down your leg, you stop. Seek medical clearance before continuing. That’s non-negotiable. Trust your body.
Frequently Asked Questions
How Many Sets and Reps Should I Perform for Optimal Hamstring Hypertrophy?
You’ll want 3–4 sets of 6–10 reps per session, hitting your hamstrings twice weekly. Heavy weight matters here—go challenging, but controlled. Why? Because muscle growth thrives on tension, and you’re maximizing that sweet spot between strength and hypertrophy. Keep rest periods around 90 seconds between sets. Honestly, consistency beats perfection every time. Stick with it for 8–12 weeks, adjust based on how you’re feeling, and you’ll notice real gains.
Can Beginners Safely Perform Romanian Deadlifts Without Prior Lifting Experience?
You can absolutely do Romanian deadlifts as a beginner—you’ve just got to start smart. Begin with just the bar, focus on the hip hinge pattern, and master that before adding weight. You’ll feel the hamstring stretch, not strain. Progress slowly, nail your form first, then load it up. Your body’s got this; you’re building foundational strength that’ll serve you well.
What’s the Ideal Frequency for Programming RDLS Within Weekly Training?
You’ll want to program RDLs twice weekly—once heavy, once moderate. This frequency lets you build strength without overloading your lower back and hamstrings. Hit them on separate days, maybe Monday and Thursday, giving your posterior chain recovery time. If you’re new to lifting, start with once weekly, then add a second session after four weeks. Listen to your body; soreness that lingers means you need more rest.
How Does the RDL Compare to Conventional Deadlifts for Posterior Chain Development?
You’re looking at two different beasts. RDLs hammer your hamstrings and glutes harder—that posterior chain emphasis is real—while conventional deadlifts demand more total-body coordination, hitting your back and legs equally. Want serious ham and glute development? RDLs win. Need compound strength and muscle across your entire posterior? Conventional deadlifts deliver. Honestly, you shouldn’t choose—stack both for complete gains.
Should I Use Straps or Train Grip Strength During Heavy RDLS?
you’ve got two paths, and honestly? Both work. Early on, train grip—your forearms need the challenge. But once you’re lifting seriously heavy, straps aren’t cheating. They let you focus on hamstring tension without your hands failing first. Use straps for heavy work, then finish with grip-focused sets. You’ll build serious posterior chain strength while keeping your grip honest.
So
You’ve got the roadmap now—proper form, plateau-busting strategies, variations that’ll challenge you. But here’s the thing: you’ve gotta actually *do* it. Consistency beats perfection every single time. Your lower back’s counting on you to respect the movement, dial in that hinge, and listen when your body talks. The gains? They’re waiting. What’re you gonna do about it?


Leave a Comment