
Glute bridges are your ticket to activated glutes and bulletproof hips. Lie on your back, knees bent ninety degrees, heels close to your glutes—then drive through those heels, not your toes. Keep your core braced, low back flat, and squeeze hard at the top. You’ll stabilize your hips, reduce injury risk, and build explosive running power. Start with three sets of fifteen to twenty bodyweight reps, progress to weights, and watch your form transform everything—there’s plenty more technique and variations worth exploring.
Key Takeaways
- Lie on your back with knees bent 90°, heels one hand-width from glutes, and drive through heels to lift hips.
- Keep knees tracking over toes, brace your core, and flatten your low back to prevent lumbar spine overload.
- Avoid arching your back, pushing through toes, or letting knees cave inward—common mistakes that reduce glute activation.
- Progress from bodyweight bridges (15–20 reps) to weighted variations (8–15 reps) and single-leg work to build strength and address imbalances.
- Train glute bridges 2–3 times weekly to improve hip stability, reduce knee stress during running, and increase explosive push-off power.
How to Do a Glute Bridge Right: Setup and Form
Before you lift a single hip off the ground, you’ve got to nail your setup—because honestly, how you position yourself determines everything that follows.
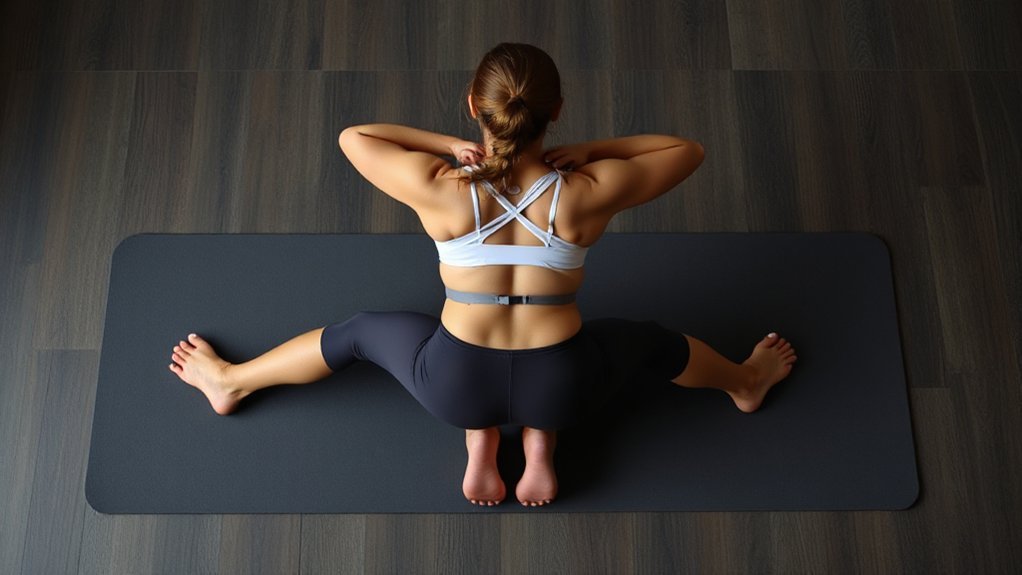
Lie flat on your back, knees bent to roughly 90 degrees, feet planted hip-width apart on the floor. Your heels should sit about a hand’s-width from your glutes, toes pointing straight ahead so your knees track right over them. This isn’t random; it protects your joints and keeps everything honest.
Now here’s the critical part: gently brace your core and flatten your low back against the floor. Hold that abdominal tension—it’s your insurance policy for your lumbar spine. Once you’ve locked in that positioning, you’re ready to drive through those heels and lift. Think of it as building your foundation before you construct the house.
Glute Bridge Mistakes That Tank Your Results
Once you’ve nailed your setup, here’s the thing—your form can still fall apart in about a hundred different ways, and each mistake quietly steals gains from your glutes.
| Mistake | What Happens |
|---|---|
| Arching your lower back | Load shifts to lumbar spine, glutes disengage |
| Feet positioned wrong | Range of motion suffers, hip extension tanks |
| Pushing through toes | Quads dominate, posterior chain loses out |
| Knees caving inward | Glute activation drops, injury risk climbs |
| Dropping hips fast | Less time under tension, fewer gains |
You’ve got to keep your core braced throughout, push through your heels, and maintain controlled tempo on the way down. Don’t let those knees collapse inward or your lower back hyperextend at the top. Guard your form fiercely—it’s the difference between building serious glute strength and spinning your wheels. Small adjustments protect your spine and maximize every rep.
Why Glute Bridges Prevent Injury and Boost Running
Perfect form gets you halfway there—but here’s what really matters: those glute bridges you’re nailing aren’t just about looking good or feeling the burn. They’re your secret weapon against injury and the key to running faster, stronger, longer.
Here’s why: strong glutes stabilize your hips and control your knees during every stride. When your glutes are weak, your body compensates—your lower back takes the hit, your knees cave inward, and suddenly you’re sidelined with pain. Two to three weekly sessions (3 sets of 12–20 reps) build the endurance your glutes need to support you mile after mile.
Better glute activation means less lumbar spine stress, fewer faulty movement patterns, and reduced overuse injuries. Plus, powerful hip extensors translate directly to explosive push-off force. That’s not just injury prevention—that’s you becoming a better, more resilient runner.
5 Glute Bridge Variations to Build Strength
Level up your glute game—and you’ll unlock serious strength gains that bodyweight bridges alone can’t deliver. Ready? Here’s how.
Start with weighted glute bridges. Grab a dumbbell, kettlebell, or barbell, place it across your hips, and perform 3–5 sets of 6–12 reps. This substantially cranks up glute and hamstring strength. Want even more challenge? Try single-leg bridges—they force each side to work independently, correcting imbalances you didn’t know you had. Aim for 3 sets of 8–15 reps per leg.
Weighted glute bridges build serious strength. Single-leg variations correct imbalances while forcing each side to work independently.
Don’t sleep on mini-band variations either. Loop a band above your knees and press outward throughout each rep. You’ll boost gluteus medius activation while preventing that knee-caving disaster.
For burnout finishes, frog pumps nail it—soles together, knees splayed, high reps (15–20+). Finally, elevate your feet or upper back on a bench. This increases range of motion and stability demands, taking you from activation straight into serious strength territory.
Progressive Glute Bridge Training: Beginner to Advanced
Building a glute bridge from zero to hero isn’t about chasing the flashiest variation—it’s about meeting yourself where you are, then climbing smart.
Start with bodyweight basics: lie on your back, knees bent, feet hip-width apart, and press through your heels to lift your hips into one straight line. Do 3 sets of 15–20 reps, moving slowly, controlling that descent. Feel your glutes work.
Ready for more? Add time under tension—hold that top position for 1 second, then build toward 10. Loop a mini band above your knees to activate your glute medius and cue proper alignment.
Next level: single-leg bridges. These catch strength imbalances fast. Then grab weight—dumbbells, kettlebells, whatever—and shift to 8–15 reps for serious strength.
Train 2–3 times weekly, 3–5 sets depending on your load. Technique always wins over height. Core braced, heels driving, lower back protected. That’s progression done right.
Frequently Asked Questions
Can Glute Bridges Help With Back Pain?
Yeah, glute bridges can genuinely help your back pain. Here’s why: your glutes are basically slacking off, so your lower back’s doing all the work. When you strengthen those glutes with regular bridges—think two to three times weekly, fifteen to twenty reps—your hips stabilize better. That takes pressure off your lumbar spine. Just keep your core tight, avoid arching excessively, and you’ll feel the difference.
Are Glute Bridges Good for Tight Hip Flexors?
Yeah, glute bridges are genuinely solid for tight hip flexors. Here’s why: you’re strengthening your glutes and hamstrings, which directly counteracts that forward hip pull. Do 3 sets of 15 reps, focus on squeezing hard, and avoid arching your low back—that’s key. But here’s the thing: they work best paired with actual stretching. Use bridges as part of your toolkit, not your whole strategy.
So
You’ve now got the blueprint—and here’s the thing: glute bridges genuinely do prevent injury and boost running performance. It’s not hype. Stronger glutes stabilize your hips, reduce knee strain, and actually improve your stride. Start where you are, nail your form, then progress gradually. You don’t need fancy equipment or hours in the gym. Consistency beats perfection every single time. Your body’s ready for this.


Leave a Comment