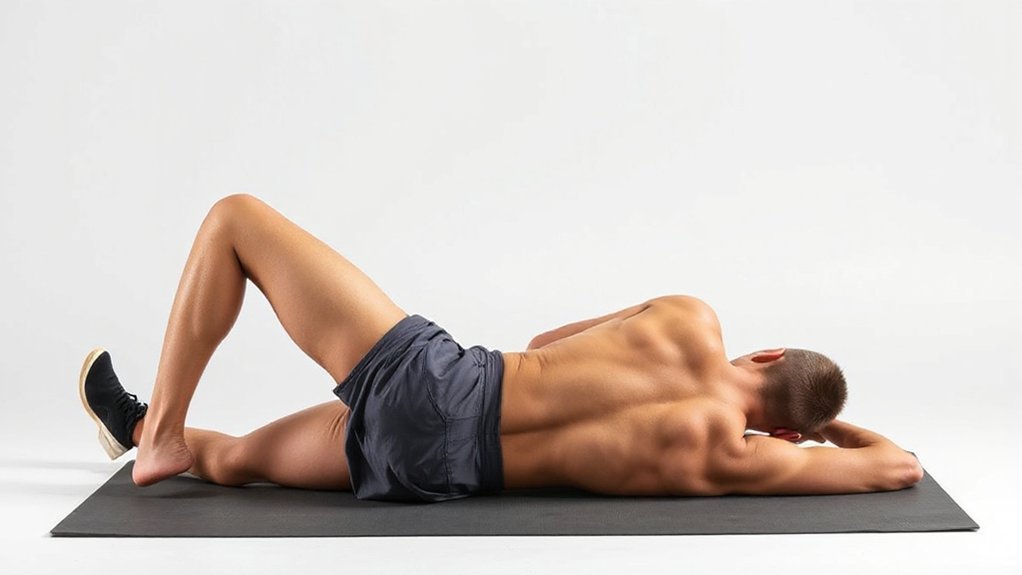
Start on your back, knees bent, heels six to eight inches from your glutes. Drive through your heels, squeeze hard, and lift your hips until your body forms a straight line from shoulders to knees—pause two seconds at the top. Lower slowly with control, keeping your core braced and lower back flat the whole time. That posterior pelvic tilt flattens your spine, kills lower back compensation, and retrains your hips to extend properly, which fixes your posture and unleashes serious strength in squats and deadlifts. But there’s more to master.
Key Takeaways
- Start supine with knees bent, feet hip-width apart and 6–8 inches from glutes, maintaining a posterior pelvic tilt.
- Drive through heels to lift hips until your body forms a straight line from shoulders to knees.
- Pause 1–2 seconds at the top with a maximal glute squeeze and braced core before lowering.
- Progress from bilateral to single-leg variations, then add load only after mastering pristine form for extra reps.
- Common errors include arching the lower back, positioning feet incorrectly, and rushing reps instead of maintaining time-under-tension.
How to Do a Glute Bridge: Proper Form Step-by-Step
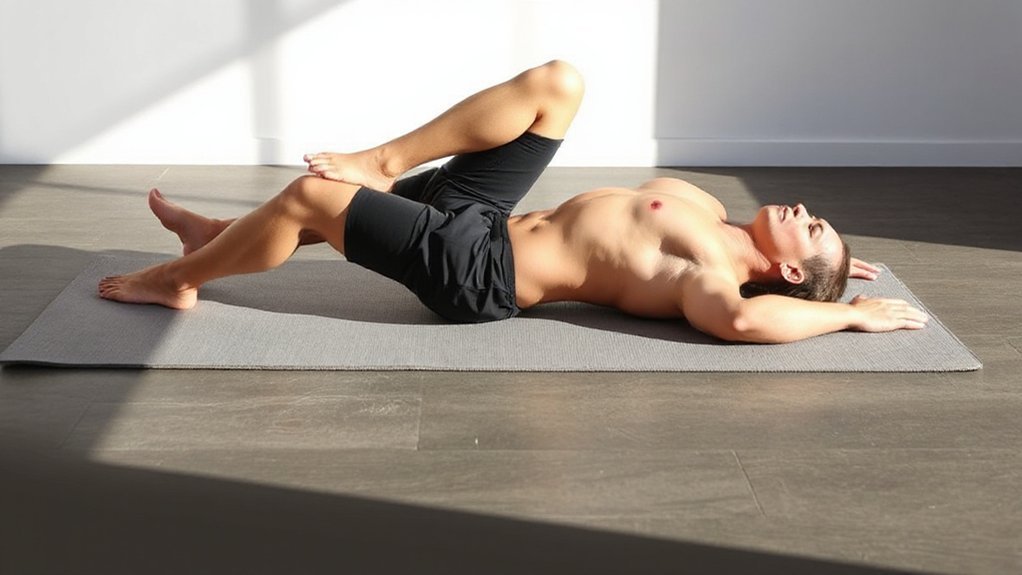
Get yourself on your back—seriously, that’s where this magic starts. Bend your knees, plant your feet hip-width apart about 6–8 inches from your glutes, and let your arms rest at your sides. Now brace your core, flattening your low back against the floor. This setup matters.
Here’s the money move: posteriorly tilt your pelvis (yep, that’s flattening your lumbar spine), then drive through your heels while squeezing your glutes hard. Lift those hips until your body forms one straight line from shoulders to knees. Stop before you overarch—that’s the trap.
Drive through your heels, squeeze your glutes, and lift until your body forms one straight line—stop before you overarch.
Pause 1–2 seconds at the top, keeping your abs tight and glutes maximally squeezed. This shift? It moves tension away from your hamstrings, where it doesn’t belong.
Lower back down slowly—about 2 seconds—with control, bracing your core the whole way. You’re protecting your spine while setting up perfectly for the next rep.
Why Glute Bridges Fix Posture and Unlock Compound Lifts
While you’ve been nailing those glute bridges with perfect form, here’s what’s actually happening beneath the surface: you’re rewiring how your body moves. Your glutes are finally learning their real job—extending your hips properly—so your lower back stops compensating and rounding forward.
This matters because anterior pelvic tilt and slouched shoulders? They stem from weak glute activation. Bridges teach posterior pelvic tilt and coordinated glute squeeze, flipping those faulty patterns on their head.
Here’s the real payoff: this transfer straight into squats, deadlifts, and hip thrusts. Your glutes initiate movement instead of your hamstrings and lower back doing the heavy lifting alone. You’re safer, stronger, and more efficient.
Controlled tempos—1 second up, 2 seconds holding, 2 seconds down—amp up time-under-tension and motor control. Progress to single-leg or loaded bridges, and you’ll expose imbalances while building the pelvic stability that unleashes genuine compound strength.
Single-Leg and Loaded Progressions to Build Strength
Most lifters plateau on bilateral bridges because their stronger side’s doing sneaky overtime—and you won’t know it’s happening until you flip to single-leg work.
Single-leg bridges force each side to carry full bodyweight, exposing imbalances you didn’t know existed. Your glutes work harder, your core stabilizes relentlessly, and suddenly that “easy” bridge feels legitimately challenging. Start here: master the bilateral version first, then move one foot forward—keep your heel planted, drive through it, and squeeze hard at the top.
Once single-leg bridges feel solid, layer in external load. Grab a dumbbell or sandbag, pad your hips, and rest it across them. Start light. You’re building strength methodically, not impressing anyone. Use controlled tempos: one second up, two-second hold, two seconds down. Three to five sets of six to twelve reps. Add weight only when you’ve crushed two extra reps for two straight sets while form stays pristine.
Glute Bridge Mistakes That Kill Your Results
Because your form breaks down under fatigue or load, you’re probably leaving gains on the table—and you don’t even realize it. Here’s the thing: small mistakes compound fast. You’re either shortchanging your glutes or shifting work to your hamstrings and lower back, which means slower progress and potential injury.
| Mistake | What Happens |
|---|---|
| Arching your lower back | Load transfers to spinal erectors; glutes disengage |
| Feet too close or far | Quads or hamstrings dominate instead of glutes |
| Knees caving inward | Hip mechanics break; glute recruitment tanks |
| Rushing reps or bouncing | Zero squeeze, zero time under tension |
The fix? Flatten your low back, brace your abs, position heels 6–8 inches from your glutes, use a mini-band above the knees, and move deliberately. Pause at the top, squeeze hard, then control the descent. You’ll feel the difference immediately—that’s your glutes actually working.
Variations: Frog Press, Cable Pull-Through, and Hip Thrusts
Once you’ve nailed the basic glute bridge, it’s time to level up—and that means exploring variations that’ll push your glutes harder, deeper, and with way more range of motion.
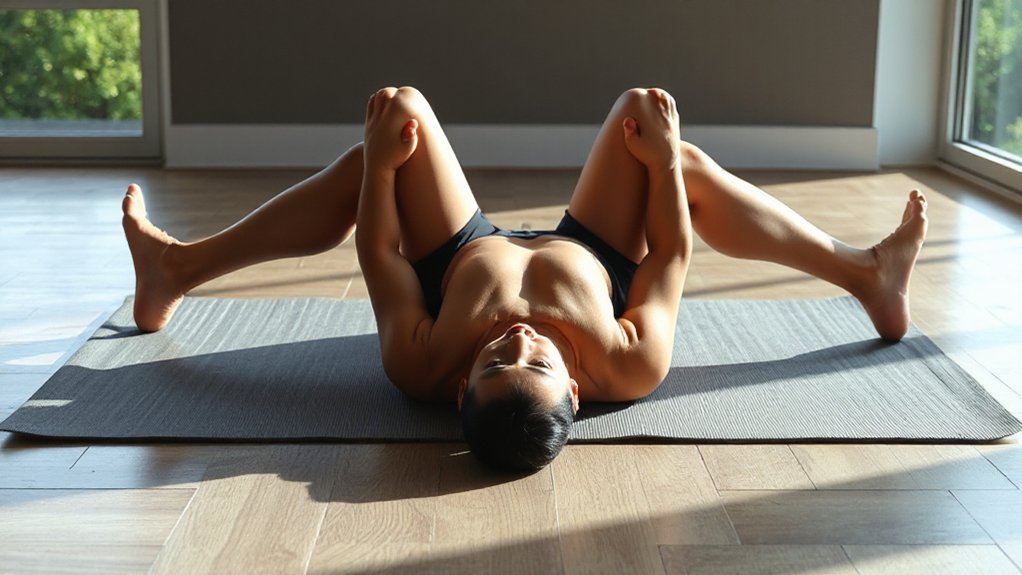
The frog press puts your feet together, knees splayed wide, which opens your hips and cranks up glute activation. Add a dumbbell across your hips for serious load. The cable pull-through swaps the bench for a rope at the lowest pulley. Face away, hinge back explosively, and feel constant tension through your posterior chain—it’s dynamic, unforgiving, and builds real power.
Then there’s the barbell hip thrust: upper back on a bench, barbell loaded across your hips. You’ll hit deeper range of motion than floor bridges, crush progressive overload, and transform your glute strength entirely.
Here’s the magic thread connecting all three: drive through your heels, tuck your pelvis slightly, and squeeze hard at the top. This keeps glutes working, not your hamstrings or lower back.
Frequently Asked Questions
Are Glute Bridges Essential?
Yeah, they’re pretty essential. You need them to wake up your glutes before heavier lifts—squats, deadlifts, hip thrusts. They’re your foundation, honestly. Master the bodyweight version first, then progress to loaded variations. Do them 1–3 times weekly, or use ’em as a daily warm-up. They’ll improve your hip extension, stabilize your core, and actually reduce low-back pain when you nail the form. Non-negotiable.
So
You’ve got the blueprint now. Master the glute bridge—it’s like opening a door that opens every major lift you’ll ever do. Start with proper form, progress to single-leg variations, and you’ll notice your posture straightens, your deadlifts climb, and that nagging lower back pain? Gone. Stop making those mistakes, stay consistent, and you’re building real strength. That’s it. You’re ready.


Leave a Comment