The dead bug builds rock-solid core stability by training your deep abdominal muscles—especially that vital transverse abdominis—while you’re safely on your back. You’ll lie with knees bent, then slowly lower one leg while keeping your spine perfectly neutral and your pelvis still. It’s foundational stuff: diaphragmatic breathing, pelvic floor coordination, and bulletproof midline control. Ideal for runners, lifters, and anyone nursing a cranky lower back. Master the basics first, though—form matters more than speed, and there’s plenty of smart progressions waiting once you nail it.
Key Takeaways
- Dead bug builds spinal stability and deep core strength through controlled, single-limb lowering while maintaining neutral spine.
- Proper form requires keeping back of head, ribs, and tailbone on floor with exhale-driven limb extensions.
- Transverse abdominis engagement creates intra-abdominal pressure protection, essential before progressing to heavy compound lifts.
- Suitable for runners, swimmers, postpartum clients, and those with chronic low-back pain when executed with proper breathing.
- Progress by reducing range, adding head lifts, tempo work, or anti-rotation variations while preserving neutral spine positioning.
What Is the Dead Bug and Why Master It Early?
Before you load a barbell or attempt a heavy squat, your spine needs a guardian—and that’s where the dead bug comes in. This beginner-friendly exercise keeps you on your back while you move your limbs, and here’s the thing: it builds serious foundational strength without crushing your lower back.
You’re training your deep core muscles, especially the transverse abdominis, to stay engaged while your arms and legs move independently. That’s hip dissociation—movement that starts at your hips, not your knees. You’ll learn to breathe diaphragmatically, coordinate with your pelvic floor, and create a protective brace around your spine.
Master the dead bug early, and you’ll transfer that control directly into deadlifts, squats, and overhead work. Your midline becomes stable. Your force transfers cleanly. The movement feels safer, smoother, more powerful. That’s not just exercise—that’s building resilience.
How to Perform the Dead Bug
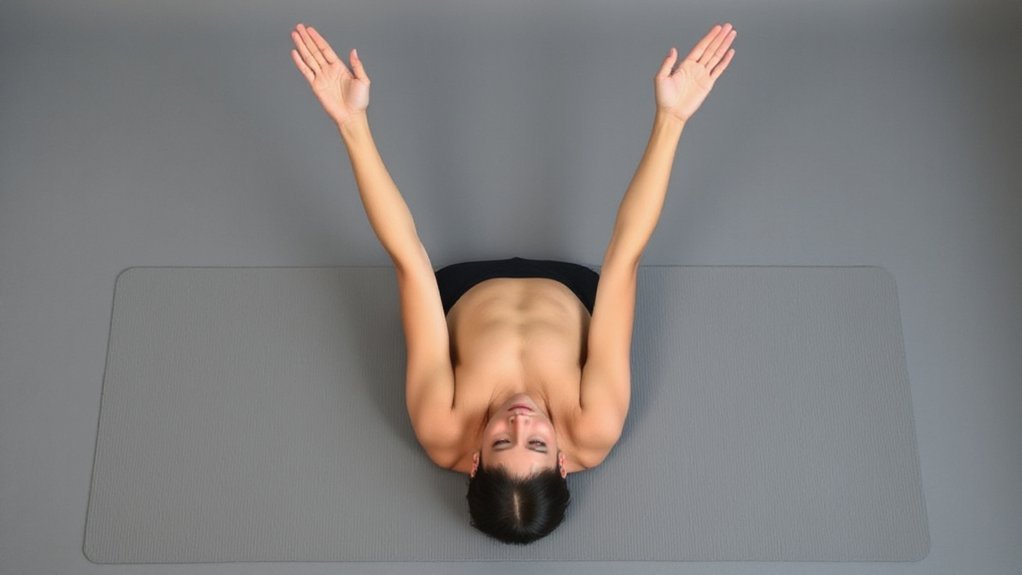
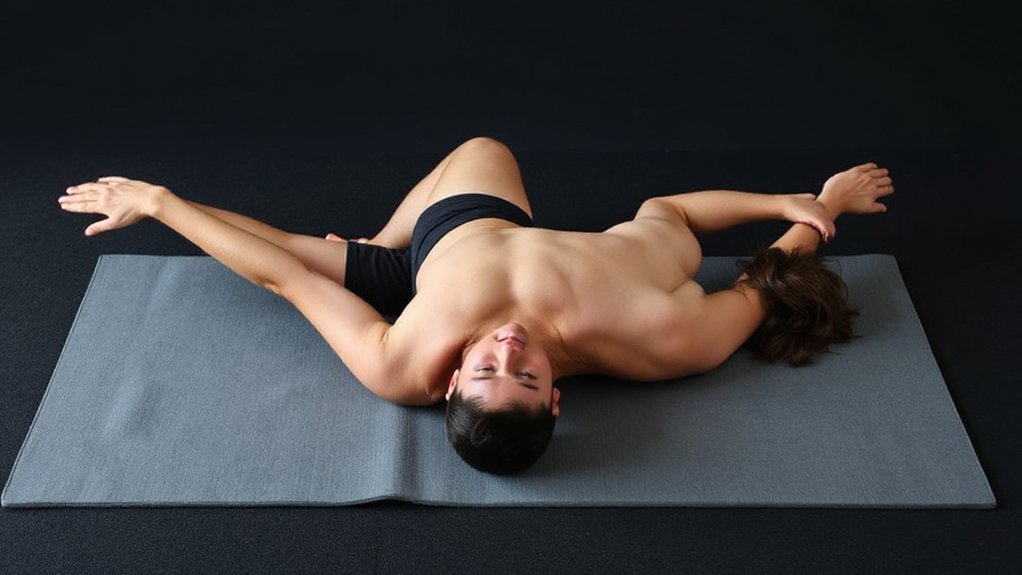
lie flat on your back, knees bent, feet planted on the floor about hip-width apart. Find that neutral spine—there’s a small natural gap under your lower back, nothing forced. Relax your ribs, place your hands on your lower abdomen to feel what’s happening.
Now brace your core by gently drawing your belly button toward your spine. This engages your transverse abdominis, your deep stability muscle. Breathe steadily through it all—exhale to start movement, inhale to return.
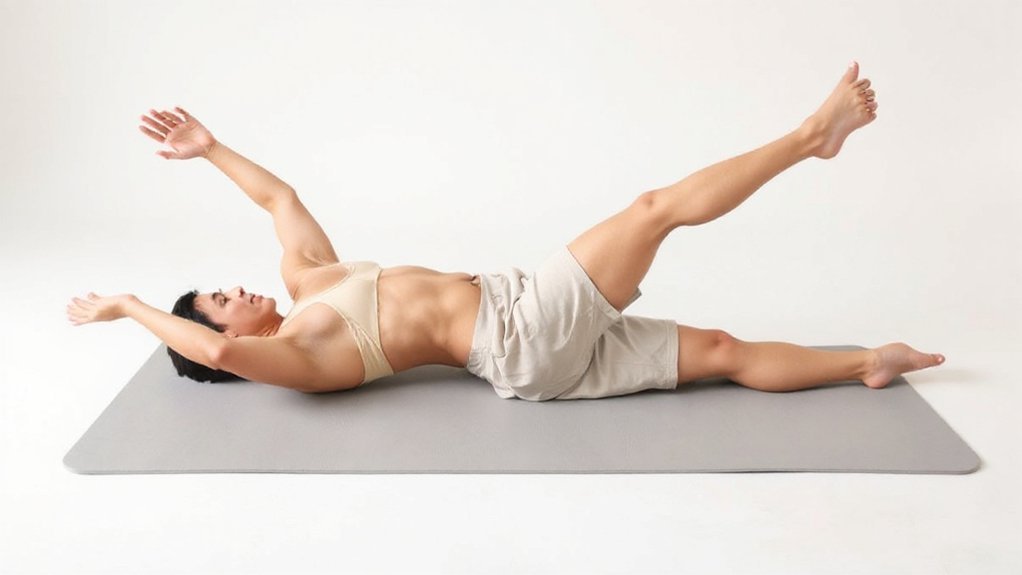
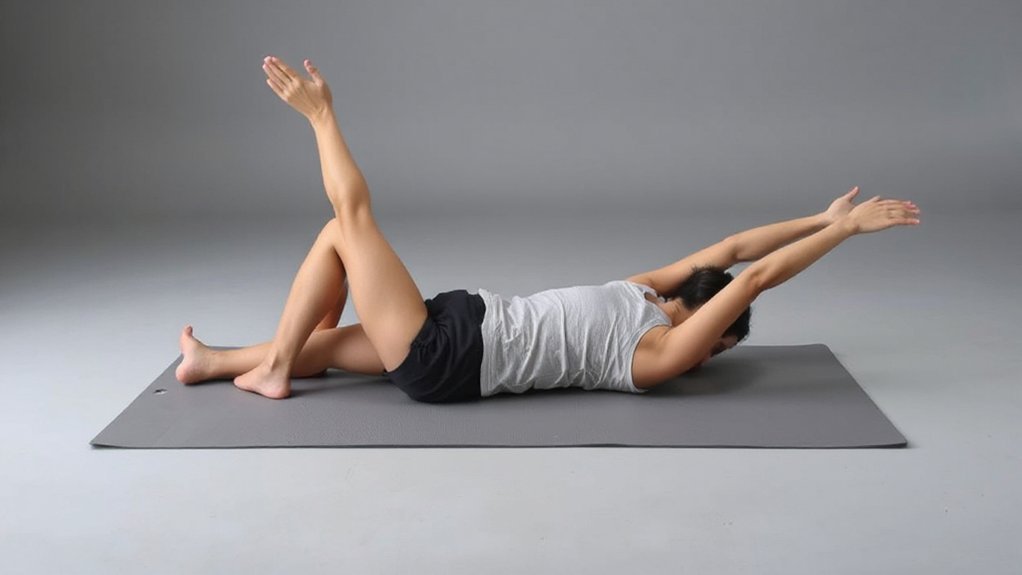
From tabletop position (hips and knees at roughly 90°), slowly lower one leg toward the floor on an exhale. Keep that knee bend consistent. The movement originates from your hip, not your knee. Here’s the critical part: keep your torso absolutely still. Stop immediately if your pelvis tilts or your lower back arches. You’re looking for control, not range. That’s the dead bug foundation.
Dead Bug Form Cues (and When to Scale Back)
Now that you’ve got the basic dead bug down, here’s what separates a solid rep from a sloppy one: your form cues and knowing when to pump the brakes.
Stay laser-focused on three contact points: the back of your head, ribs, and tailbone should kiss the floor throughout. If your low back starts arching or flattening, you’ve lost the plot—reset immediately. Keep your pelvis neutral; rotation kills the exercise.
Initiate every movement from the hip, lengthening your leg with intention while maintaining that knee bend. Breathe deliberately: exhale as you extend, inhale as you return. Let your breath do the heavy lifting, recruiting your diaphragm naturally.
Scale back without shame. Reduce your range, perform single-limb versions, place hands on your belly for feedback. Stop if sharp pain hits. Fatigue degrading your form? That’s your signal to dial it back. Form trumps ego, always.
Muscles That Fire During Dead Bug and Why Breathing Matters
You’re not just moving your limbs during dead bug—you’re orchestrating a whole team of stabilizers beneath the surface. Your core isn’t one muscle; it’s a sophisticated system firing together to protect your spine while you move.
Here’s what’s actually happening:
- Transverse abdominis draws your belly button inward, creating a corset effect
- Multifidus locks down deep spinal segments to resist unwanted motion
- Diaphragm and pelvic floor work as your core’s ceiling and floor, generating intra-abdominal pressure
- Rectus abdominis and obliques assist in resisting rotation and forward pressure
- Breathing timing amplifies everything—exhale as you lower a limb, inhale returning to start
That breathing part? Game-changer. A gentle exhale reduces stress on your lumbar spine while activating your transverse abdominis without aggressive bracing. You’re not just strengthening; you’re teaching your body intelligent spinal control that transfers to life outside the gym.
Who Should Do Dead Bug and When to Get Help?
Because dead bug teaches your spine what stability actually feels like, it’s become a go-to exercise for almost everyone—runners hunting for better power transfer, swimmers looking to lock down their midline, pregnant and postpartum folks rebuilding from the ground up, older adults fighting the slouch, and anyone nursing a cranky lower back that’s tired of flaring up.
| Who Benefits Most | Why It Works | What to Watch |
|---|---|---|
| Runners & swimmers | Improves force transfer | Stop if sharp pain hits |
| Pregnant & postpartum | Rebuilds deep stabilizers | Consult if complications exist |
| Older adults | Fights spinal slouching | Regress if form breaks down |
Here’s the thing: if you’re experiencing new, stabbing back pain or have an irritable lower-back injury that flares with movement, pause and reach out to a physical therapist or Clinical Pilates instructor. They’ll assess your specific situation and build progressions that actually fit you—not some generic version. Your spine deserves that attention.
Ready to Level Up? Try These Dead Bug Variations
Once you’ve nailed the basic dead bug and your spine’s feeling stable, it’s time to turn up the heat—and that’s where variations come in.
You’re ready to challenge your core deeper, building real functional strength:
- Lower-leg progressions: Gradually drop your legs closer to the floor, starting at 90/90 until you hit your motor-control limit—stop before your low back arches.
- Head-lift dead bug: Add a chin tuck and slight neck flexion to recruit deep neck flexors while keeping your pelvis locked down.
- Anti-rotation holds: Resist a resistance band or light weight anchored to one side as you lower opposite limbs, ribs tucked tight.
- Anti-extension challenge: Extend one leg fully toward the floor with serious bracing control—use smaller range if form breaks.
- Single-arm/leg tempo work: Combine opposite limbs with slow 3–5 second lowering to build transverse abdominis endurance and pelvic floor strength.
Pick one. Master it. Progress.
Frequently Asked Questions
What Is the Dead Bug Exercise Good For?
Dead bug teaches you to stabilize your spine while your limbs move—that’s core control in action. You’re training deep muscles like your transverse abdominis and multifidus to hold neutral spine without compressing your back. It’s beginner-friendly, low-load, and transfers beautifully to squats, carries, and overhead work. Plus, you’ll nail diaphragmatic breathing and intra-abdominal pressure, making you stronger everywhere.
What Happens if I Do Deadbugs Every Day?
You’ll rebuild your core’s foundation—fast. Daily deadbugs rewire your transverse abdominis and stabilizer muscles, sharpening how your spine braces under load. Short sets, just 6–10 reps per side, activate genuine motor control that transfers everywhere: heavier lifts, better posture, less back pain. Pair diaphragmatic breathing with movement, and you’re training your whole stability system. Stick with quality form, though—fatigue kills gains quicker than skipping days.
How Long Should You Do the Dead Bug Exercise?
You’re looking at quality over quantity here. Start with 6 controlled reps per side, maybe 1–3 sets, three to five times weekly. For static holds, begin at 10–30 seconds, working toward 60 as your core strengthens. The real win? Stopping the moment your form cracks—when your back arches, breathing shallows, or control slips. That’s your signal. Short, solid sessions beat grinding it out.
What Are the Big 3 Exercises for the Core?
You’ve got three non-negotiables for real core strength. First, you’re doing the Front Plank—a straight endurance hold that builds your anterior and posterior walls. Then, the Bird-Dog trains your anti-extension game, keeping your spine neutral while you coordinate opposite limbs. Finally, grab the Pallof Press to hammer anti-rotation, resisting that twisting force. Stack these three, and you’re covering stability, endurance, and functional resistance. That’s your complete core toolkit.
So
You’ve got the dead bug down—so what’re you waiting for? Start with the basics, nail your form, then push yourself with variations. Your core’s stronger already, your back’s thanking you, and honestly? You’re building the foundation for everything else. Stop overthinking it. Get on that mat, breathe steady, and own this exercise. Your body’s ready.


Leave a Comment